For a spicy, yet refreshing twist on a summer dinner. Fully vegan, gluten free and easy on the tummy I’m buying literal crates of mangos with the recent (and very much welcome) heat we’ve had and I have to use them somehow! All of these components are super versatile and can be altered according to what you have in the fridge or your taste preferences. I always use a ‘base’ recipe for my mango salsa being mango (obvs 🤪), avocado, olive oil, lime and herbs (mint/coriander). Endless possibilities!
Read moreVegan Cucumber Mint Raita
Remember those ‘Franks Red Hot Sauce’ commercials with catch phrase ‘I put that s***t on everything!’?
Well I put THIS on everything! Potatoes, rice, anything spicy, fish, with curry, as a vegetable dip, alongside a savory brunch, or with daal. It’s the perfect cooling. creamy addition to any dish. I use coconut yoghurt here (I buy coconut collab plain yoghurt) but you can use plain, Greek, Icelandic or even goat yoghurt for the same effect. Its an incredible flexible recipe as well- you can omit the cucumber, lemon or olive oil, and add honey for sweetness, lemon zest for a delicate flavour, or chili for spice so this matches with any recipe. I even dip salty tortilla chips in this as the perfect mini snack!
Nourishing Red Lentil Daal
Vegan, gluten free, nourishing goodness. If you can’t tell by my content- I’m obsessed with south Asian flavours- and the trick to ultimate flavour in these dishes- is knowing when and how to add the spice.
Daal is a dish that I find ultimately comforting. It’s easy on my tummy, super quick, warming, filling and CHEAP to make. Also- it’s a one pan meal meaning less dishes which is always a plus!
Saffron Rice
A super simple recipe but oh so luxurious. Luxurious because the price of real saffron is! It’s the reason why I always go into the grocery store on a budget and leave thinking ‘what did I even spend that on??’ No regrets! Some people have expensive chocolates- I have golden strands of delicate saffron.
Read moreZucchini Bread Bites
Like Zucchini Bread, but bite sized! What could be better? These little tidbits of deliciousness are soft and moist on the inside and slightly crunchy on the outside making the perfect coffee dipper or quick breakfast bite. Just one one-bite-wonder is loaded with nutrients from the zucchini and satisfaction from how GOOD they are! I could tell you that they last in the fridge or freeze well… but Rich and I never make it to that point to find out these are always eaten so fast!
Read moreCreamy & Dreamy smashed chickpea Dill Salad
Creamy, dreamy and oh so flavorful! This vegan chickpea salad is a ‘dill’icious plant based take on the old-school egg salad my Nanna used to use in her dainty tea time sandwiches. Perfect on a cracker, in a wrap, or by the spoonful this is a go to vegan salad that will impress any meat eater (tried and tested on my own meat-and-potato family!). Its also full of plant based protein from the chickpeas, and healthy fats from the vegan mayo making it my go-to for a quick powerhouse snack or meal before a day of hiking or work!
Read moreVegan Breakfast Burrito
While vegan and gluten free- its also the ultimate comfort breakfast! Lots of amazing, flavorful fats and carbohydrates and to optimize this vegan ‘junk’ food. I also use vegan cheddar cheese- the Vialife brand is my all time fave and it melts well, completes the burrito! I also add roasted potato wedges her, which adds the perfect texture contrast, a bit of crunch with the creamy ‘egg’ salad. I season mine with oregano, paprika and cayenne pepper!
Read morePaneer Saag Aloo (with Vegan Option)
The secret to great paneer in curry is to broil it first! It adds a layer of depth to the dish, a bit of crispness and is also the best way to really infuse flavor into the otherwise bland cheese. You can swap the paneer for extra firm, pressed tofu because they both have the same ‘blank canvas’ flavor and firm texture that makes this dish- and it can be cooked in the exact same way.
Read more'Figgin' Delicious Fig & Coconut Cheesecake Bar
I’ve ‘FIG’ured out the secret to quick and delicious raw vegan cheesecake bar. I used to make these many years ago when I first really found a hobby in vegan baking. The biggest hassle though? Having the forethought to soak nuts for hours at a time! BUT I’ve discovered a time saving trick…. You can simply pour boiling water over the cashews and ta-da! Cashews softened in 15-20 minutes and good to go! And the other plus? The only special equipment you need is a high powered blender or a food processor!
Read moreSesame Glazed Tofu Sticks
Gloriously crispy, savory, and boasting a delicate flavor profile of sesame this tofu literally can top any dish. With simple ingredients and only taking a short 15 minutes to make, how could you go wrong?
Read moreGarlic Dijon Crispy Tof
I LOVE tofu.
Cold. Scrambled. Silky. Stinky. Fried. In Soup. Baked. Crispy.
It is a versatile protein that you can make taste like anything, yet people seem so scared to try it. Its foreign, its weird, it comes in a big block immersed in strange liquid. I get it!
But seriously, I think it’s the name ‘tofu’ that people don’t like more so than the actual dish. Once I got Richard to actually TRY it, he was obsessed.
The other thing about tofu, is people are afraid of its estrogen content, but lets clear the air of this myth for a second.
Simply put, Soy, what tofu is made of, contains plant based phytoestrogens thought to be linked to breast cancer and male sterility. These isoflavones have been under serious scrutiny in the life sciences field. Current research suggests that estrogen in soy behaves differently from the bodies naturally produces hormone.
Still confused? Just follow this one rule: too much of any good thing, no longer is good! Everything in moderation, even moderation.
This recipe can either be baked or fried (though I prefer baking as I can just throw it on a tray and walk away for half an hour) and can last up to 3 days in the fridge.
You can also mix up the flavors a lot! Add, take away, or alter amounts and let me know what you think! In the image, I served it over a bed of quinoa with wilted spinach, bruschetta topping, artichokes, broiled mushrooms, and balsamic green beans.
My goal in sharing these recipes is not telling you how to cook, but rather offering guided self discovery!
Garlic Dijon Crispy Tofu
Serves: 4
35 Minutes
Ingredients
-1 Block Extra Firm Tofu
-1 Tbsp. Rapeseed Oil
-1 Tbsp. Dijon Mustard
-1 Clove Garlic (Minced)
-1 Tbsp. Arrowroot Starch or Cornstarch
Method
Preheat Oven to 200C.
Drain tofu. Pat dry with either paper towel or clean cloth. Cut into even cubes.
Place the tofu cubes with the oil, mustard, minced garlic, and cornstarch in a bowl. Toss until tofu is evenly coated.
Bake in oven for 30 minutes or until browned.
Enjoy warm!
Easy Apple Crumble
Working in Catering, I some days was making a berry or apple crumble for over 400 people at a time.
Have you ever tried to make a controlled dish? Its hard right?? The topping of the crumble recipe I had to use was one that had to be checked every few minutes, and turned every 3. For up to 16 trays.
It was stressful, but it taught me so much about myself, how to elevate stress, and deal with unproductive emotions in a work setting. It was a time of personal growth and while it wasn't easy, no meaningful transformation is.
I had swore off baking for about a year after leaving my pastry chef career. It was a part of the growth I needed in order to heal, become grounded, and re-center. I had discovered an acute gluten sensitivity while working in pastry getting rashes on my hands after handling dough, and becoming instantly sick when tasting my dishes. This fear of being sick again was a large part of my swear-off of sweets, but I have rekindled my love and now work towards making healthy versions of the dishes that I made during my time in work.
This apple crumble is not at all based on those recipes, but largely inspired by the giant bag of baking apples in my mother in laws pantry!
So over a year after making crumble for hundreds of people, i’m back at it, in a relaxed setting and on my own terms with ingredients I trust.
Oh the excitement!
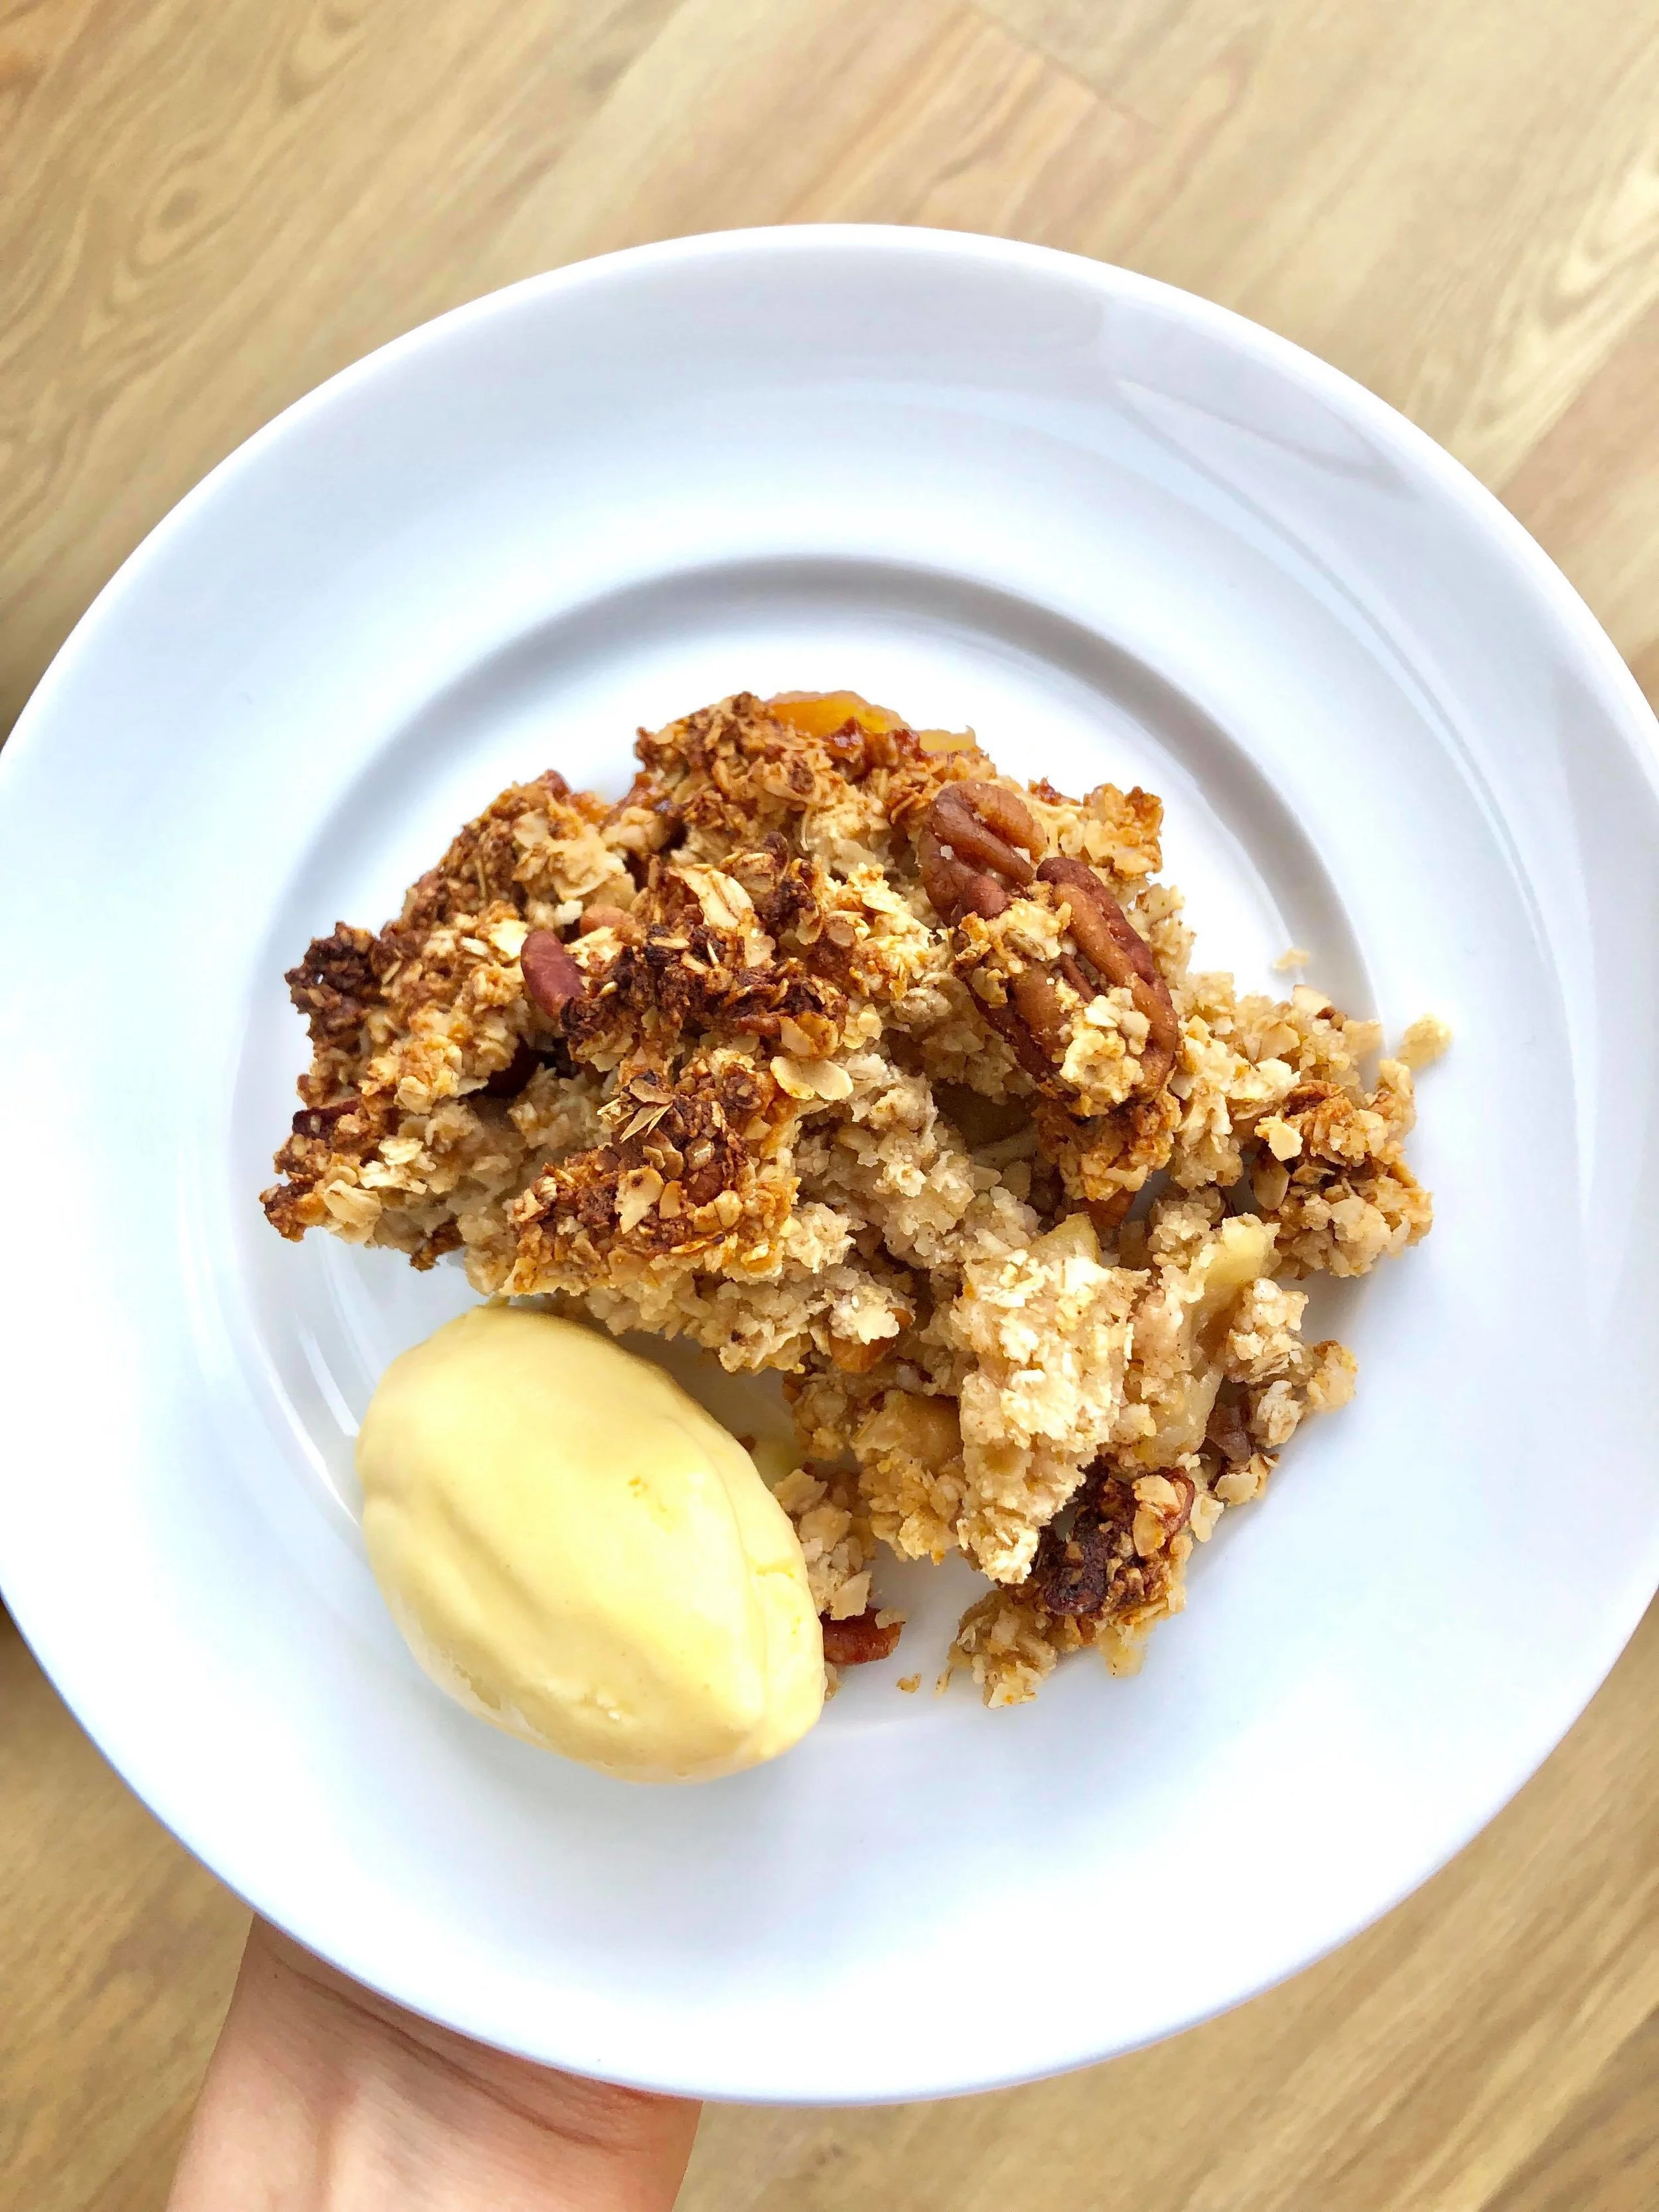
This crumble is best served warm, but can be easily reheated in the microwave.
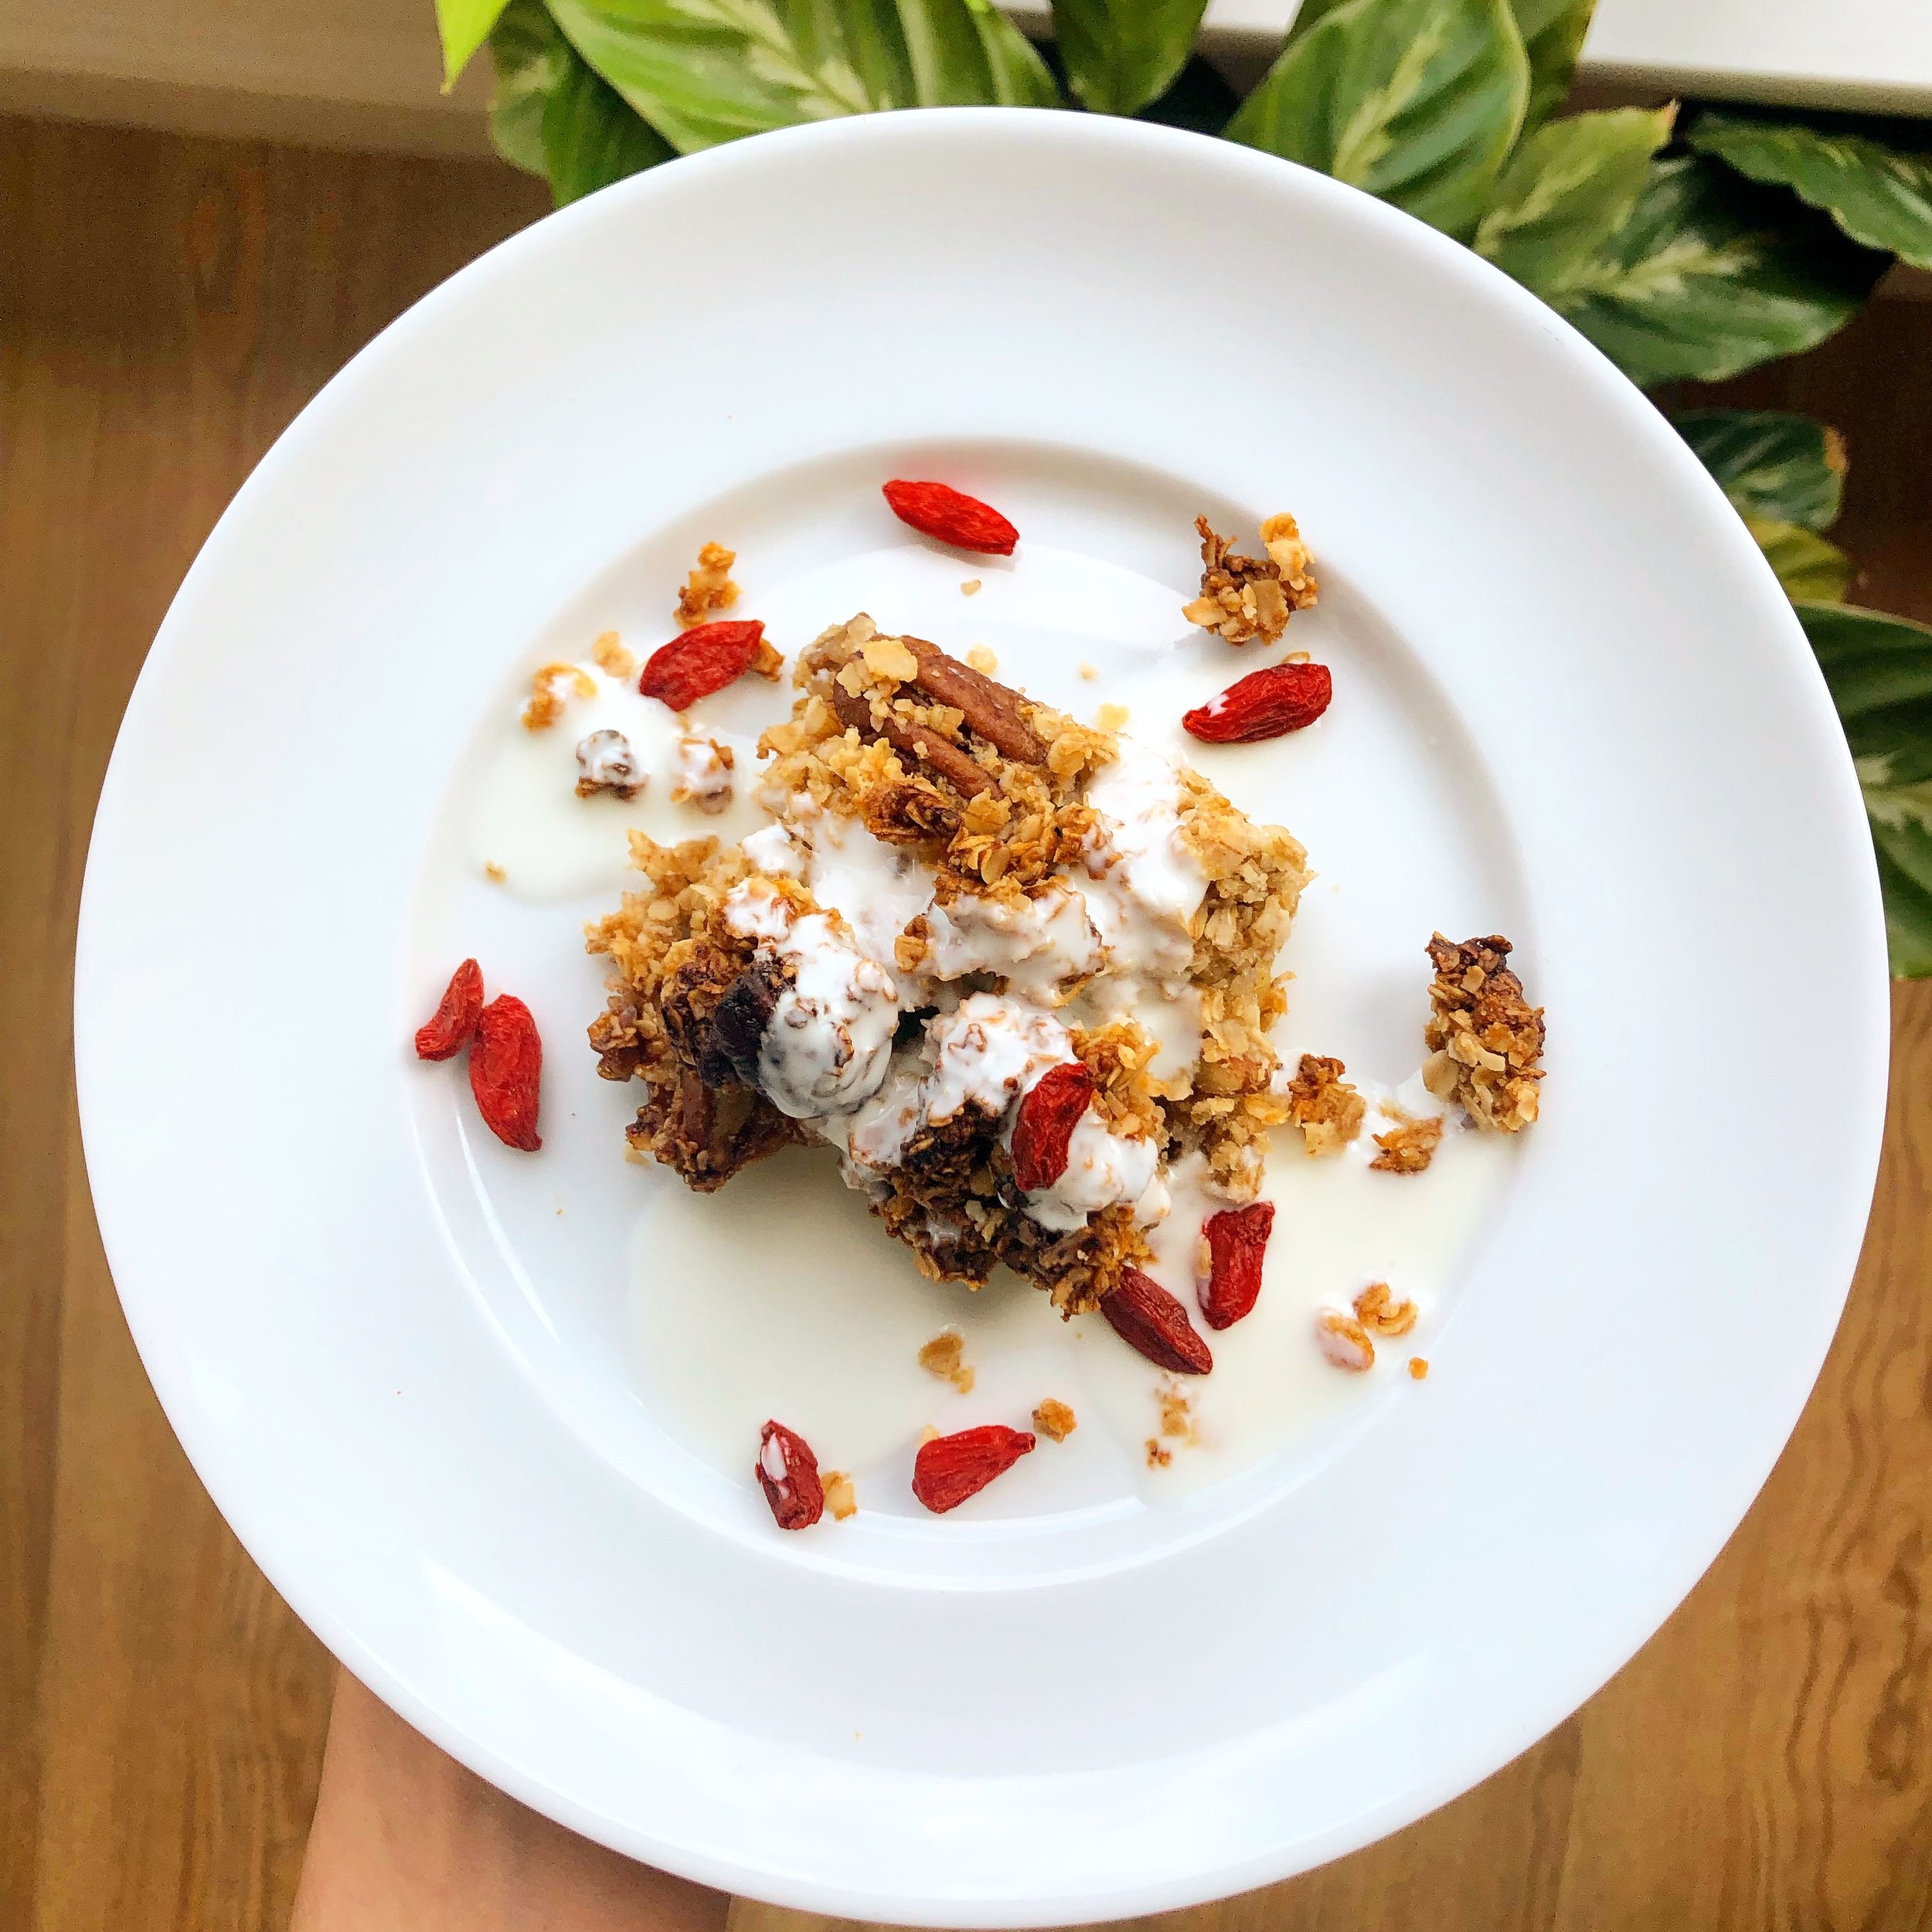
I have served it with regular vanilla ice-cream, vegan caramel (recipe coming soon), vegan custard (recipe also coming soon) or -unashamed to say- for breakfast with kefir and goji berries.
The crumble can be left covered on the counter or fridge for up to 4 days (so you can treat yourself all week long).
Easy Apple Crumble
Gluten Free, Vegan, Vegetarian, Refined Sugar Free
Serves 8
45 Minutes
Ingredients
Apple Base
-6 Bramley Apples
-1 tsp Cinnamon
-1/8 tsp Nutmeg
-2 tbsp. Maple Syrup
Crumble
-2 1/2 Cups GF Oats
-1/2 Cup Pecans
-1/3 Cup Ground Almonds (or Almond Flour)
-1/3 Cup Maple Syrup
-1/4 Cup Melted Coconut Oil
-Pinch Salt
Method
Preheat Oven to 180 C.
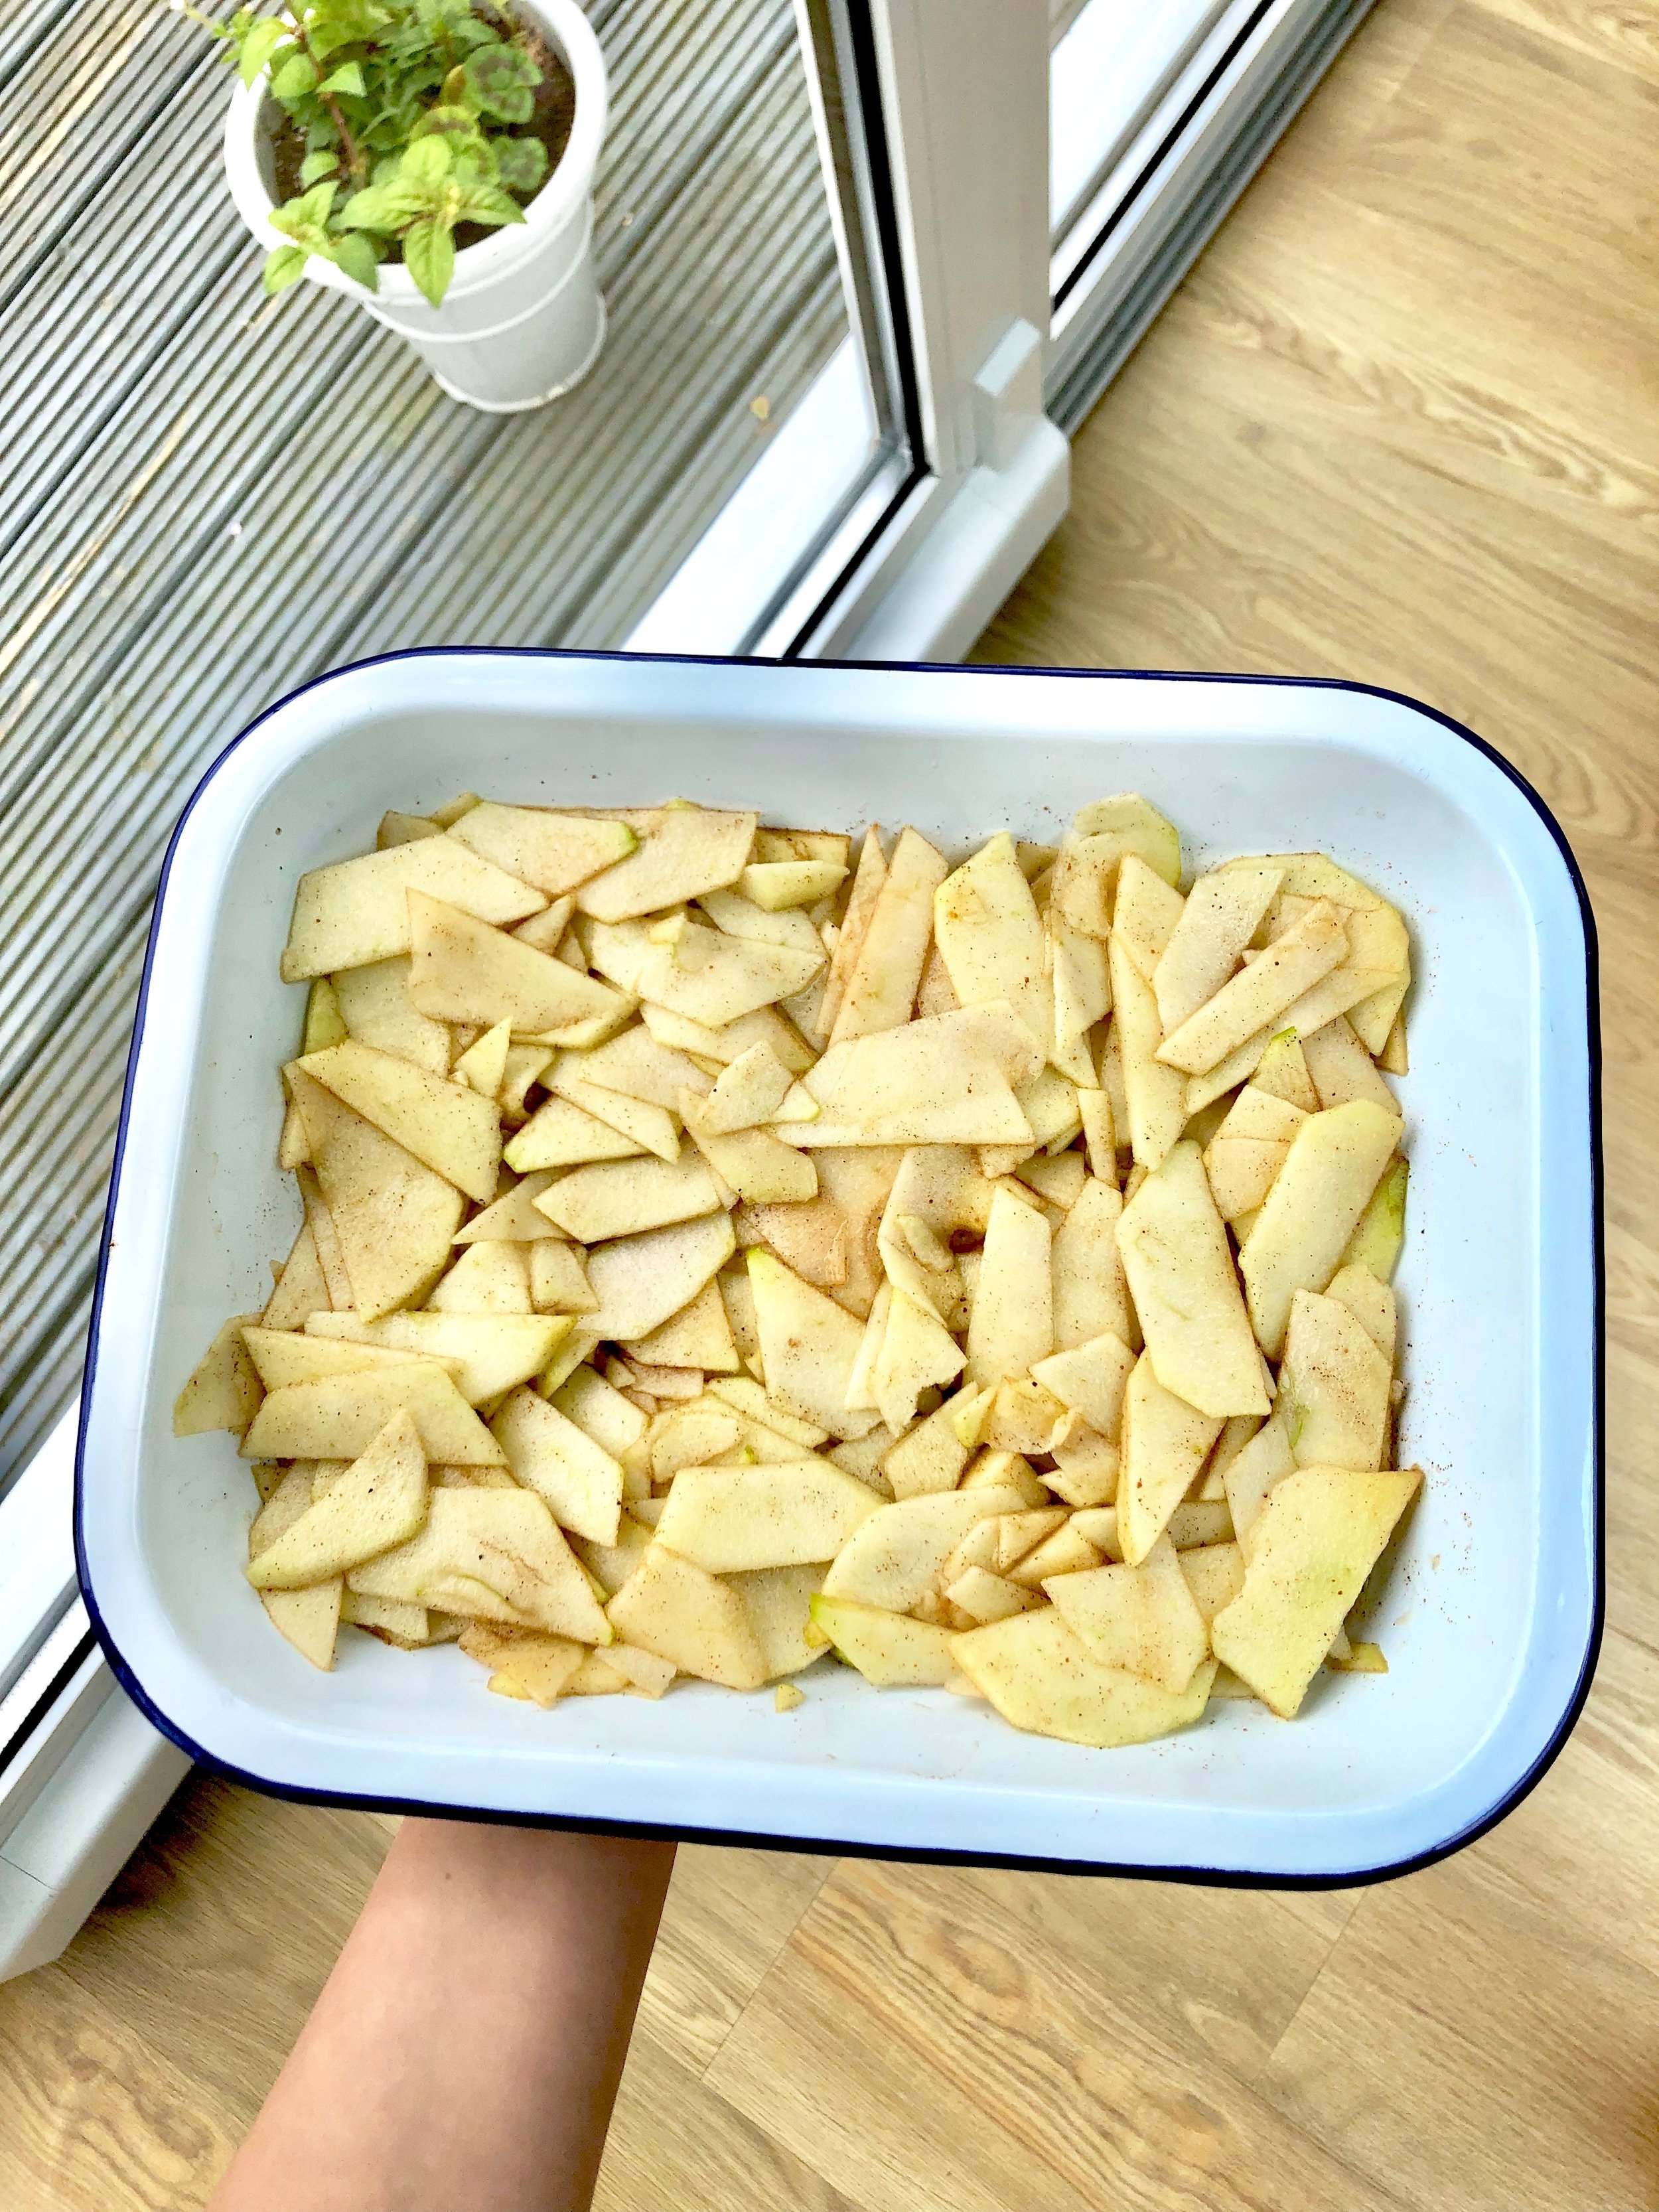
Peel the apples. Make clean cuts around the core into four sides. then thinly into semi circle slices.
Place the apple slices in a bowl. Add the cinnamon, nutmeg and maple syrup. Ensure the fruit is evenly coated with the spices and syrup. Spread in a 8 x 8 tray, and set aside.
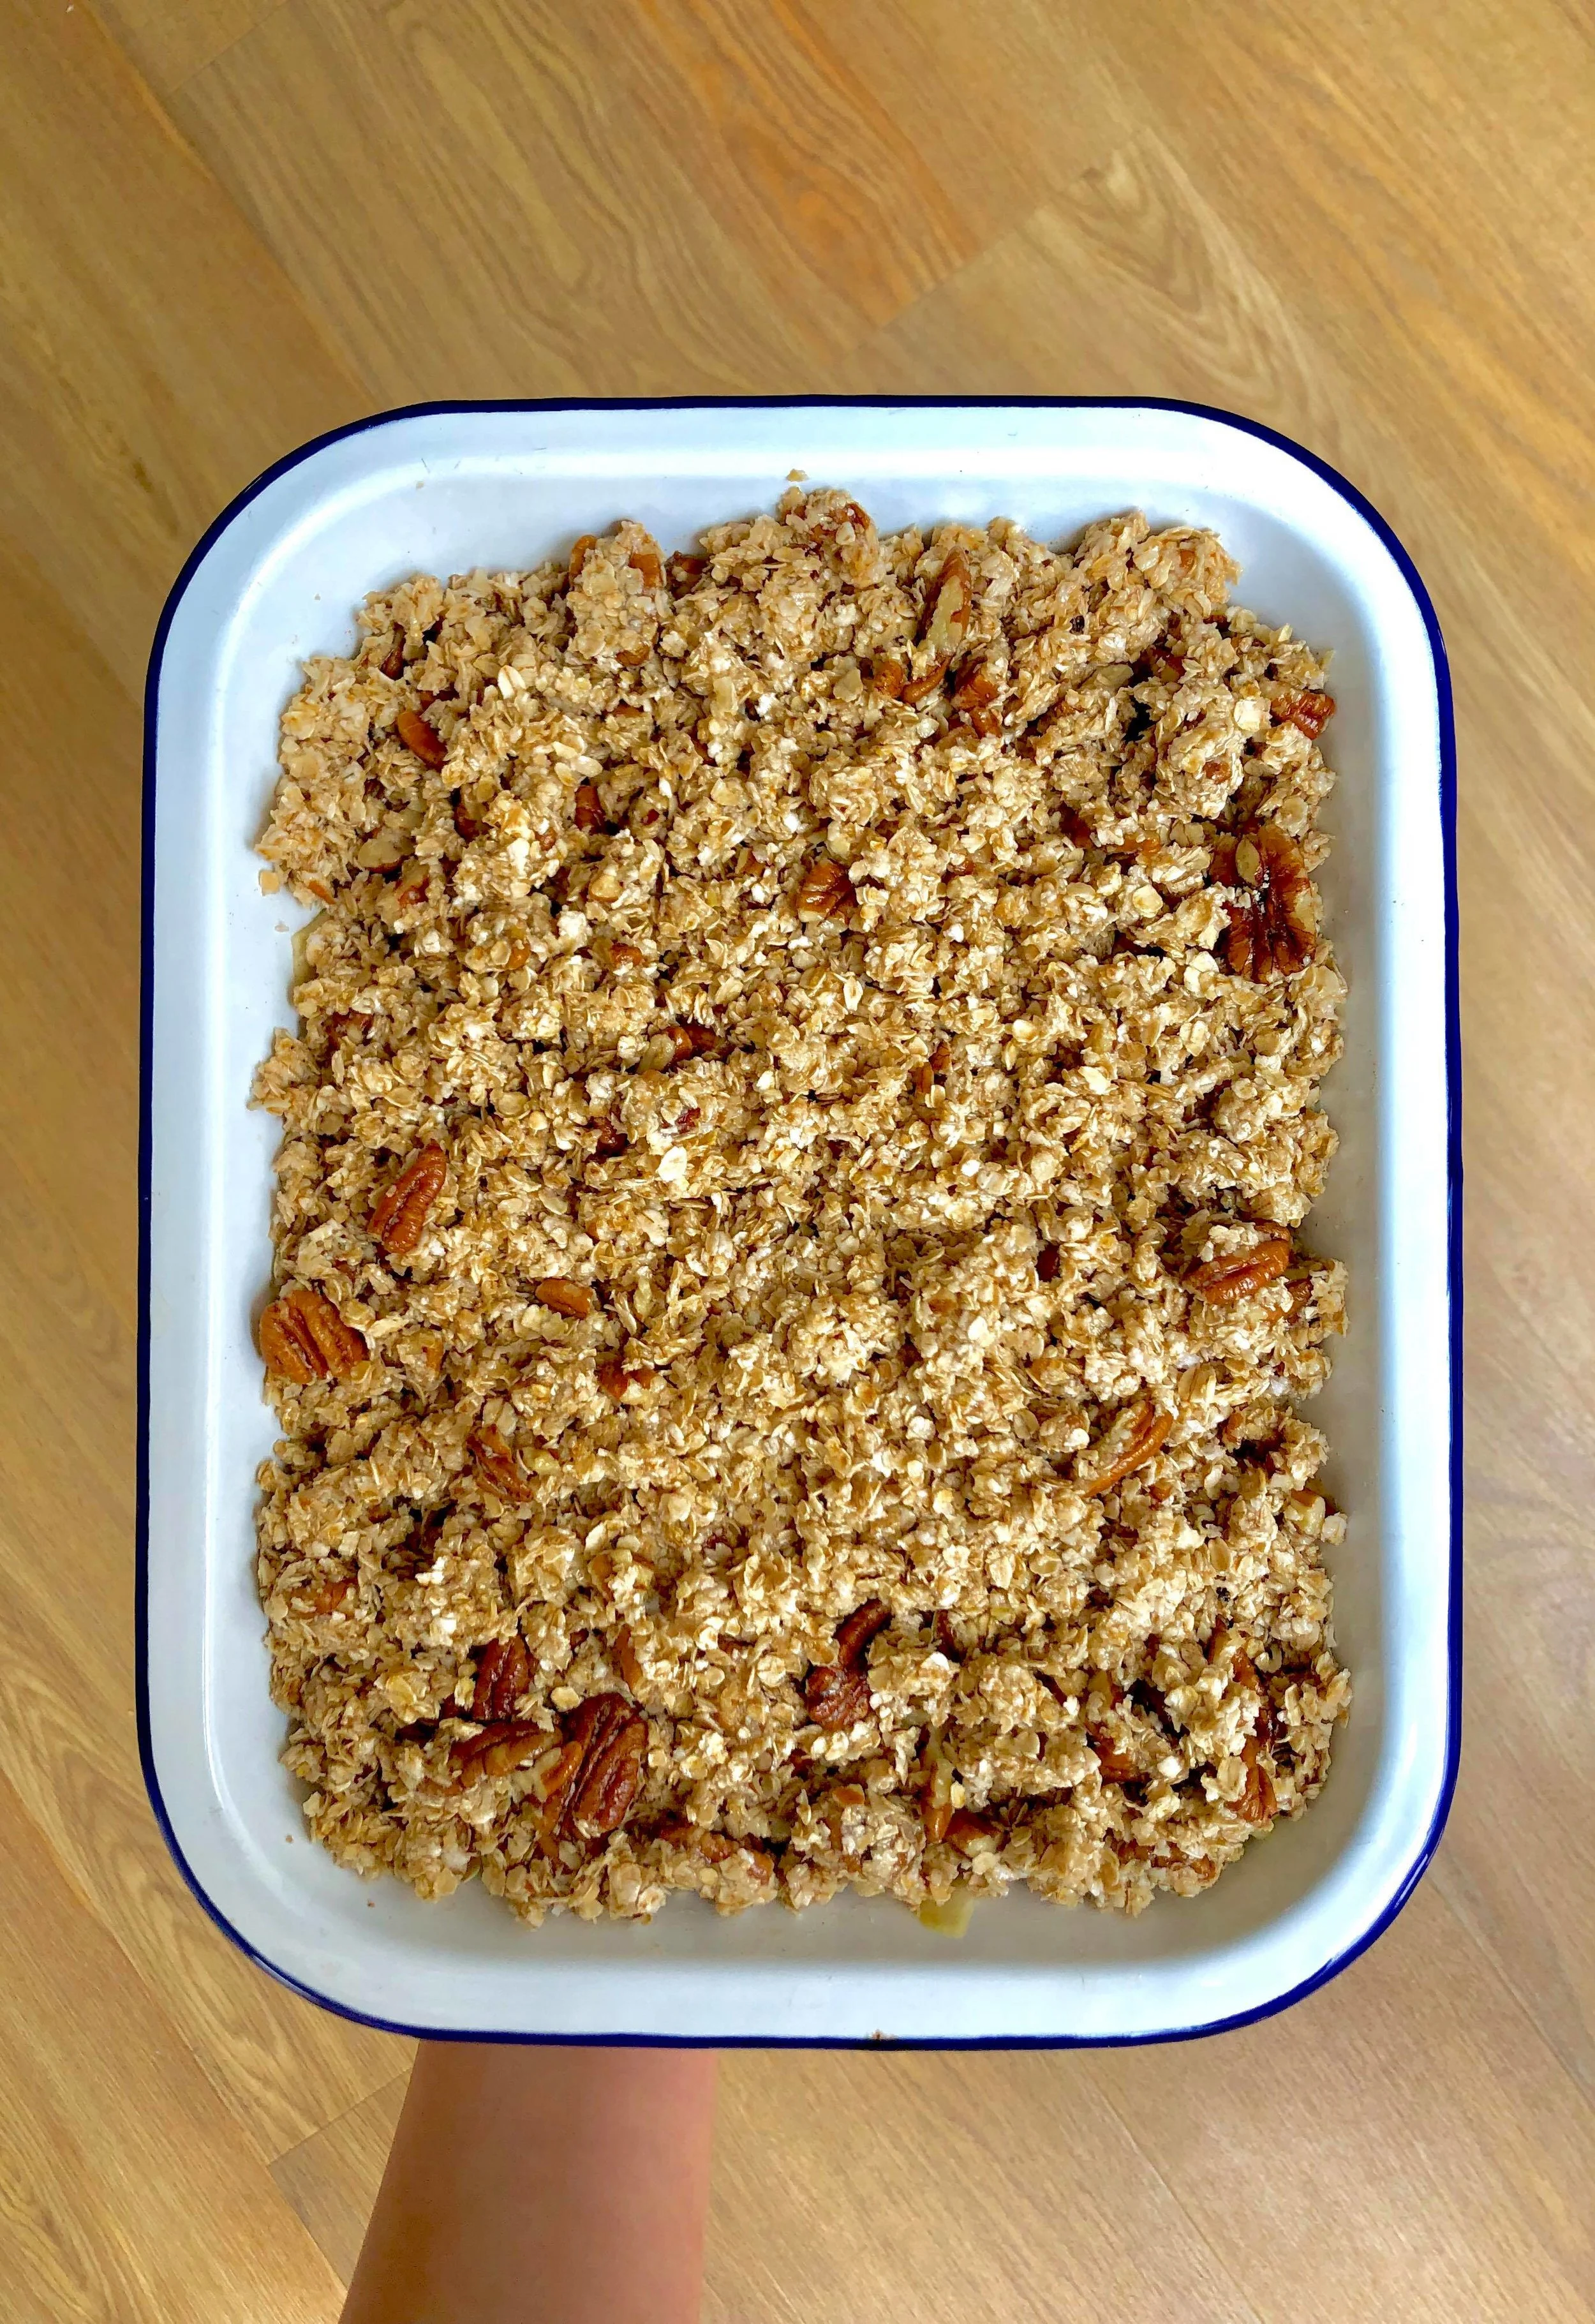
In a bowl add the oats, ground almonds, maple syrup, melted coconut oil, salt, and half of the pecans (1/4 cup). Roughly chop the other half of the pecans (1/4 cup), add to the mixture, and fully combine.
Spread the topping evenly over the apples in the pan.
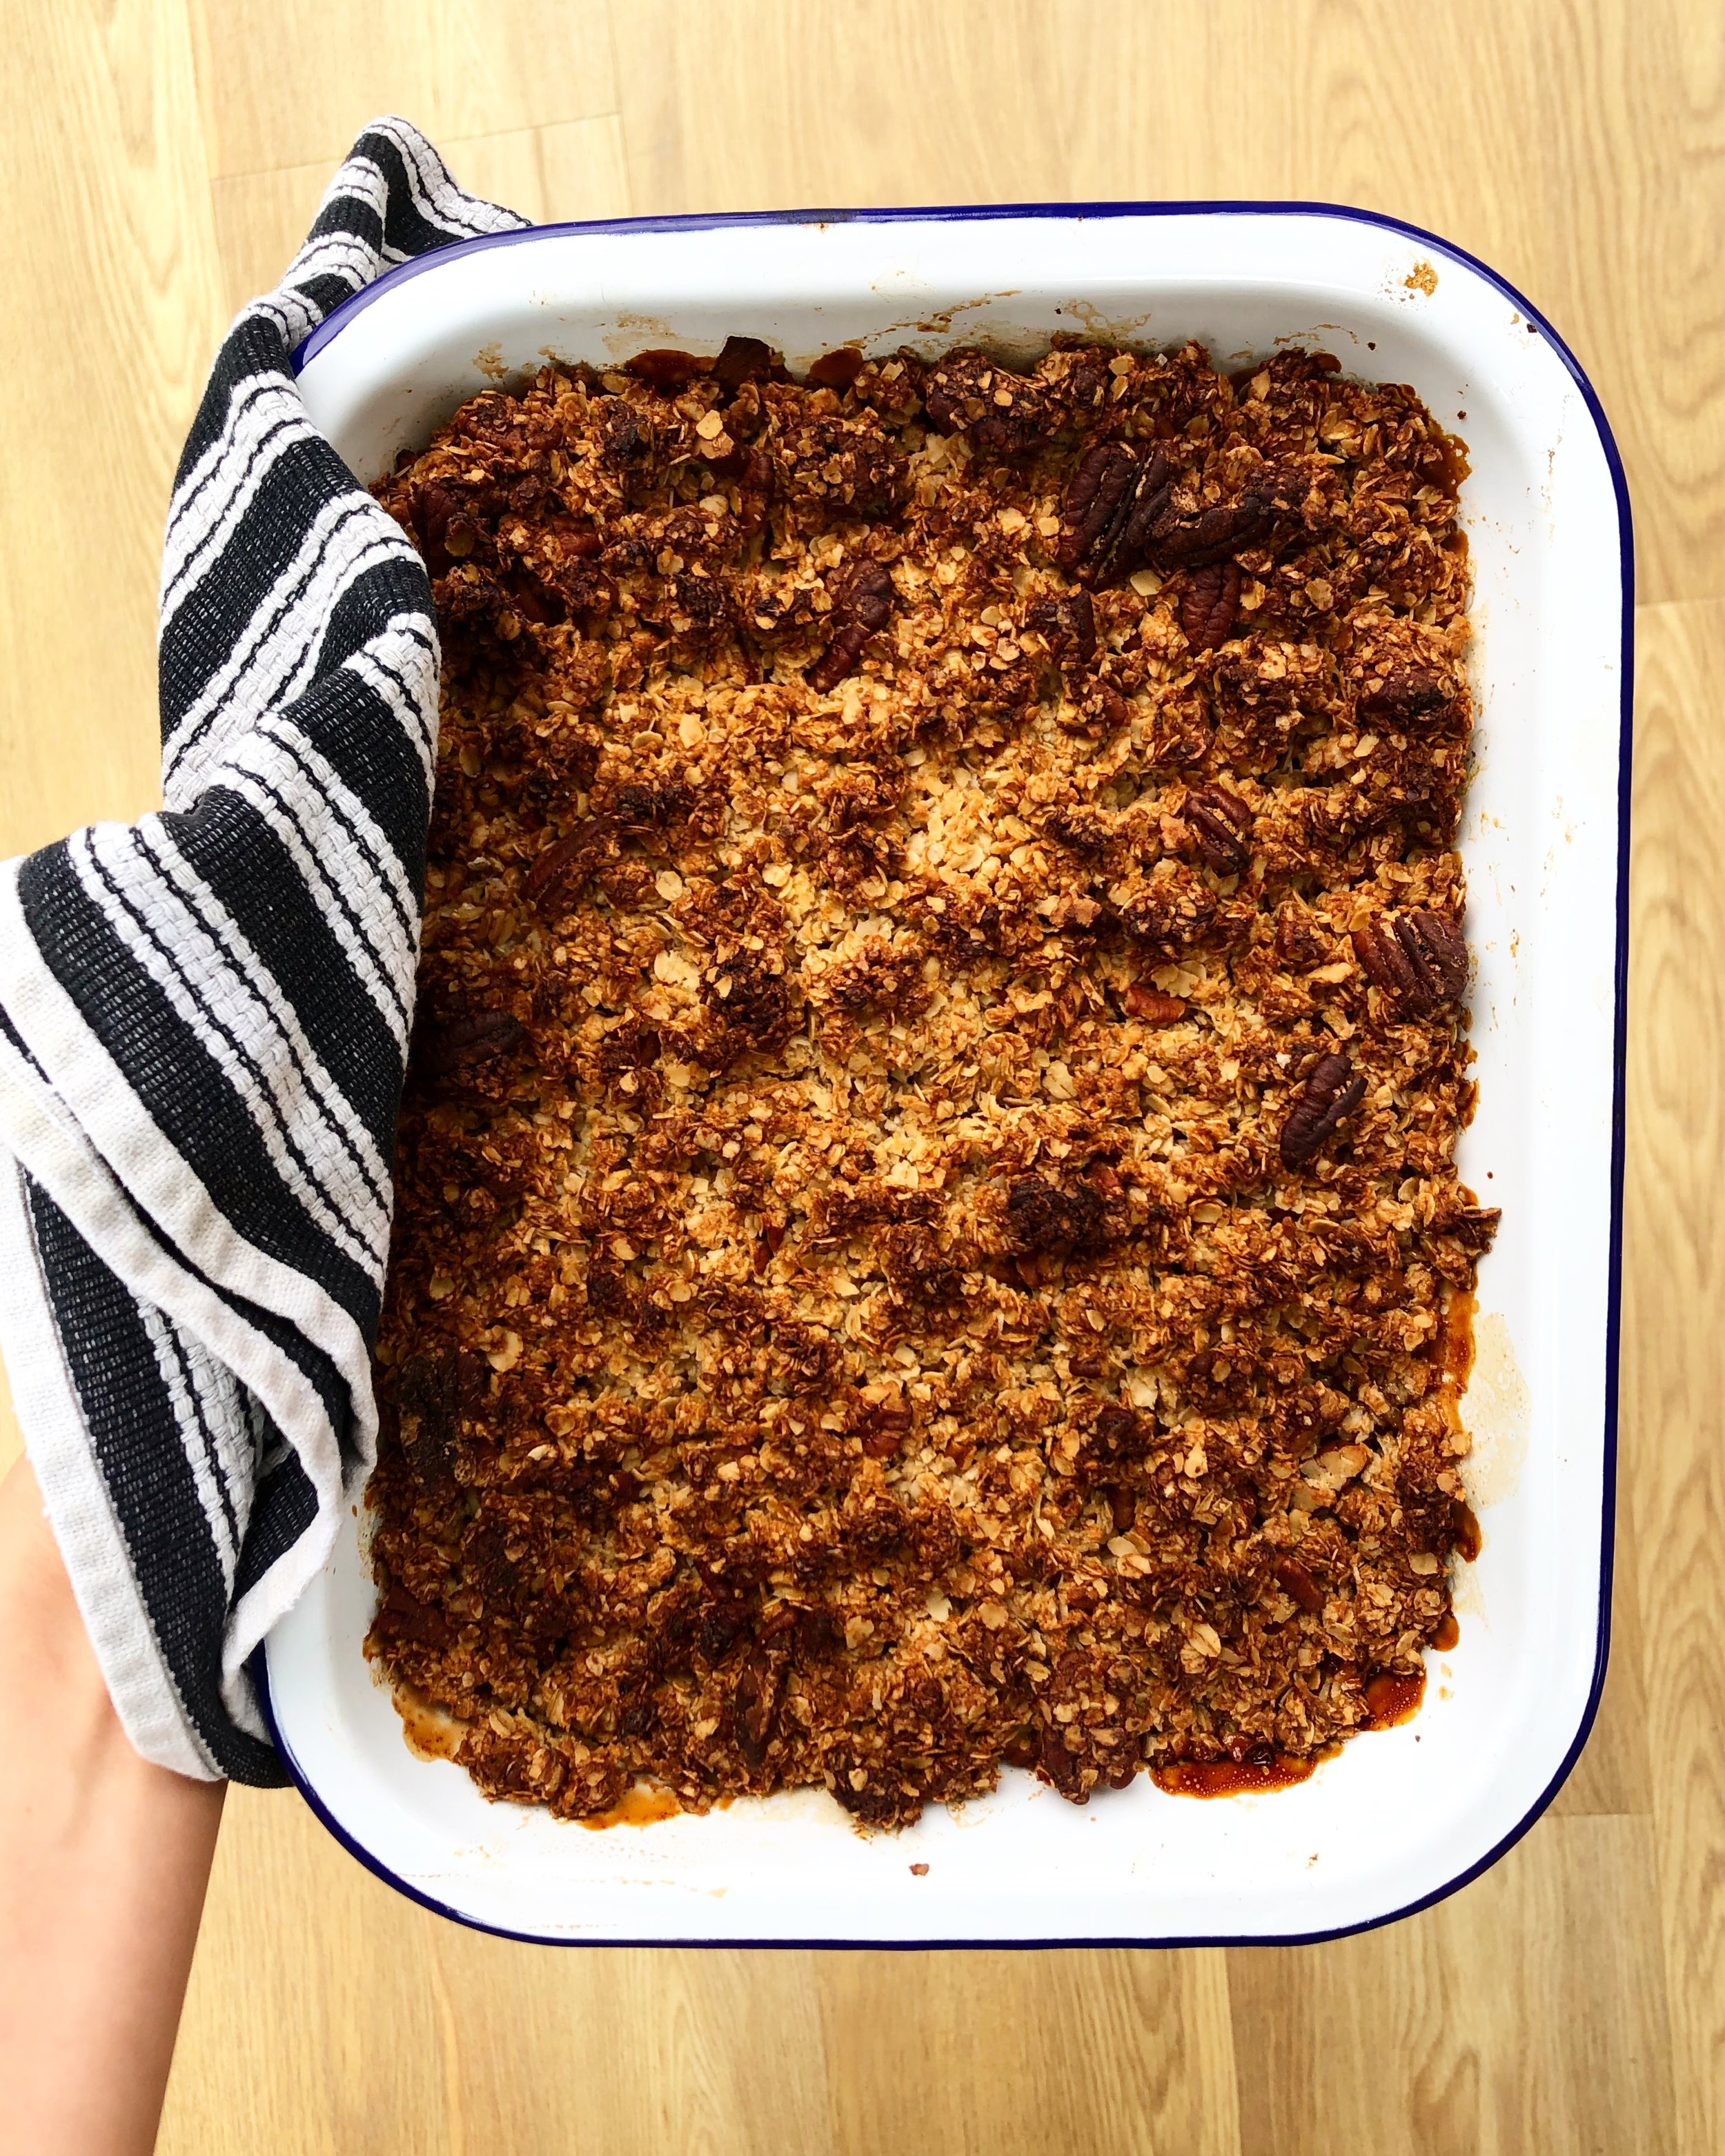
Bake 30 minutes or until fragrant and golden brown on top.
Plant Powered Protein Scramble
Despite the name, Scrambled Health is NOT based on scrambled eggs but rather is the background of a nickname I’ve adapted to. Working in my first Michelin star French kitchen I was asked to make scrambled eggs for staff meal.
I began my culinary career at Le Cordon Bleu learning gastronomy and nutritional cooking. This, along with the fact that eggs always disturbed my esphogitus, I had spent years as a vegan, and the smell of any egg dish would make me gag… I could say that I had never scrambled an egg.
To this day, I struggle to make scrambled eggs as well as my ten year old brother can.
Back in my family home, I was known in my family for serving them my tofu scramble and pretending it was made from eggs. I fooled some! My traditional eggs and bacon English breakfast grandfather had been fooled multiple times.
This recipe is incredibly versatile. I’ve used it as egg salad (adding vegan mayonnaise), in a breakfast wrap with roasted potatoes, in salads, over toast, over sweet potatoes, with hummus on roasted veggies… the flavours are mild, enjoyable and complementary to a variety of foods.
Try this out and experiment!
I would love to hear how you served this dish!
xx
Plant Powered Protein Scramble
Vegetarian, Vegan (Option), Gluten Free, Nut Free
Serves 2
15 Minutes
Ingredients
-1 tsp rapeseed or avocado oil
-1/2 Red Onion, Minced
-1 cm Cube Fresh Ginger, Minced
-1 Clove Garlic, Minced
-1 tsp. Turmeric
-1/8 tsp. Cayenne Pepper
-1 Block Firm Tofu
-150 g Fresh Spinach
-Salt and Pepper to Taste
OPTION
-50 g Goat Cheese, or Feta
Method
Heat oil in a pan on medium-low heat, add the red onion. Sautee until becoming translucent (about 2-3 min).
Add minced ginger and garlic with the onion. Cook until fragrant and add the turmeric and cayenne pepper.
Meanwhile, remove the tofu from packaging. Drain and pat dry with a clean dishcloth or absorbent kitchen towel.
Crumble the tofu into the pan, so it is small chunks. Stir the mixture for about 3-5 minutes, until tofu is cooked and fully immersed with the spices and onion mix. Add salt and pepper to taste if necessary.
Add the spinach to the pan and slowly mix in until completely wilted.
At this time, you have the option of adding feta or goat cheese. Mix the cheese throughout for a great salty and tangy addition of flavour.
Serve warm as a replacement of scrambled eggs or cold as a egg salad. Keep leftovers in fridge for up to 3 days.
One Pan Pecan Granola
Easy, delicious, satisfying, quick, and good for children and adults alike. I really can’t put an end to the positive adjectives to this dish.
I am inherently lazy (partially the reason I left Michelin star kitchens) and am always looking for a short cut in the kitchen.
I love my oven, I really do, but for some reason actually putting something IN the oven makes the dish seem that much more work. Call me crazy! I can’t be the only one.
So, being lazy, not wanting to clean the excess dishes of a mixing bowl AND a tray AND a sticky spatula, I decided to venture into the world of non-oven granola.
I will admit it took a few tries (including making sure my pan was completely dry in between recipe tests and washes as my ‘granola’ quickly turned into ‘oatmeal’ - rooky mistake), but the final test was so beautiful and was so satisfying.
I will never again wait for granola in the oven. Yes, patience is a virtue, but really the best inventors are inpatient and lazy right? How else would we have self operating vacuums or lights that turn on by clapping your hands?
This idea of how to begin on this endeavor started with my time in kitchens as a pastry chef when I was making toffee pecans for a super extra banoffee dessert that included banana ice cream, salted chocolate crumble, and siphoned dolce de leche. I can safely say I gained a lot of weight there. The pecans were made with maple syrup, brown sugar, butter, butter, and more butter.
In my adaption of it, I obviously didn't want butter, or refined sugar so I went off the whim and it turned out SO WELL.
You can use this recipes on top of my Vanilla Poached Pears, on top of yogurt, an apple crumble topping, or wherever else you would use granola.
A word to the wise on this one:
Be very careful, and stay with the pan the entire time. The time in between a perfectly browned pecan and a burnt one is a matter of milliseconds. Don’t let this scare you, but just keep an eye on it and have your ingredients set up beforehand.
One Pan Pecan Granola
Serves 4
10 minutes
Ingredients
-1 Cup GF Oats
-1/2 Cup Pecans
-1/3 Cup Maple Syrup
-Option: Vanilla Extract or Bean
-1 tsp. Cinnamon
Method
Chop half of the pecans roughly, and leave the other half whole. Set aside.
In a pan on low heat, brown the oats slowly over the pan, continuously stirring while you add the pecans to brown slightly and immediately add maple syrup. Add the vanilla essence (if using) and cinnamon here. Continue stirring.
Pour onto a silicon mat and let cool. It will be hard once cool, but no worries! Break up the pieces and cut in a sterilized jar. Leave in a cool place or in the fridge for up 3-5 days.
Vanilla Poached Pears
Dessert Or breakfast these are A.M.A.Z.I.N.G. You can technically have breakfast for dessert… without any judgement (from me anyways).
I often make my vanilla poached pears for parties, family members, or my own lazy brunch morning with Rich and myself.
They seem luxurious, intricate, and impress everyone… little do they know, these took less than 40 minutes - most of which I was sitting reading my current novel “The Language of Kindness” by Christie Watson (I highly recommend).
I’m letting you in on my secret dessert dish which I ‘pretend’ are really complicated at dinner parties by explaining the dish with grandiose phrasing. What can I say, I’m a cancer and I just need positive attention.
I know, horrible, but I am making up for my deception by sharing these with you- and so that you can do the same with your friends and family!
The trick is staying coy. “No, no, it was so easy! Really, it's nothing!” and I swear it almost makes the dish taste SWEETER.
—————————————————————————————————————————————————————————————————————————
Now that I have shown you my true colours (Oops!) I’m going to move on to the making behind the dish.
This dish can be made vegan, gluten free, and can also be done as nut free and paleo (without the pecan granola). It requires minimal cutting, is pretty much one step, and is incredibly delicious with delicate flavours. I made this the other morning for what was a healthy breakfast, made with only fruit and free sugars.
Oh, and the biggest plus was my kitchen smelled fabulous all day.
The poached pears are best served hot, immediately after plating, with a dollop of cultured yogurt (I use coconut collaborative, or goats milk yogurt), or a scoop of vanilla and/or salted caramel ice cream and topped with my one pan pecan granola, which can be found here. With all the components the dish is complete in both texture and flavour, but I encourage you to be creative and let me know what you made these with!
For breakfast as seen in the pictures, I added cultured goat yogurt, my one pan pecan granola, with a sprinkle of chia and honey!
LETS GET STARTED!!
Vanilla Poached Pears
Gluten Free, Vegan Option, Vegetarian, Paleo (without granola), Nut Free (without granola), Refined Sugar Free
Serves 1
5 Minutes Prep.
35 Minutes Cook
Ingredients
-1 Pear (of any kind; not overly ripe and still hard)
-1/4 Cup Honey/Maple Syrup
-1 tsp. Vanilla
-1 tsp. Cinnamon
Method
Cut the pear in half, and remove the core (with a knife or a melon baller).
Place the pear cut side up in a saucepan, and add your choice of sweetener (honey/maple syrup), vanilla and cinnamon. Fill with water until pears are completely covered with liquid (and then some (amount depends on your pot)
Bring to a boil, then reduce to a simmer. Leave the pears to poach for 35 minutes for a soft, sweet and delicate treat.
Serve warm.
Salted Caramel Millionaire Bars
Salted Caramel Millionaire Bars
Gluten Free, Vegan, Refined Sugar Free, Paleo
Ingredients
Shortbread
1/2 Cup Almond Flour
1/2 Cup Coconut Flour
1/3 Cup Coconut Oil
3 tbsp. Maple Syrup
Caramel
1/2 Cup Smooth Almond Butter
1/4 Cup Melted Coconut Oil
1 tsp Vanilla Extract
1/4 Cup Maple Syrup
Pinch Sea Salt
Chocolate Layer
1 Bar Dark Chocolate (85% or higher)
1 tbsp. Coconut Oil
1 tsp. Maple Syrup
Topping
Sea Salt
Option: Freeze Dried Raspberries
Option: Banana Slices
Option: Granola Topping
Method
Shortbread
Preheat oven to 175 degrees Celsius
Combine almond and coconut flour with melted coconut oil and mix until smooth.
Line an 20 x 20 tray with high sides. Line with compostable parchment paper for easy removal. Pour batter into tray, smooth until even, and tap the tray against counter to release air bubbles.
Bake for 12 minutes until starting to brown. Remove from oven. Allow to cool completely.
Caramel
In a saucepan, combine almond butter, coconut oil, and maple syrup.
Place on stove over low heat, and whisk until components are beginning have melted and become liquid.
Whisk in salt to taste.
Allow to completely cool.
Chocolate & Putting It All Together
Once the caramel and shortbread are cool, pour the caramel over the shortbread in the tray and smooth using the back of a silicon or wooden spoon so that it completely covers the shortbread.
Place layered shortbread and salted caramel in fridge to further set. Leave for approximately 10 minutes.
Meanwhile, roughly chop with a knife or hands the chocolate bar. Place in a microwavable bowl, or on a double boiler and add the coconut oil. If using a microwave, put on high heat for 30 second intervals, stirring in between, until fully melted.
Remove shortbread and caramel layers from fridge. Pour the melted chocolate in a thin layer over, and sprinkle the sea salt on top. Add any other toppings you wish on top at this stage.
Place the Salted Caramel Millionaire Bars in the freezer or fridge until completely chilled.
Cut scrap ends so you have a true square to work with. Cut 1.5 cm by 4 cm rectangles or 2 cm by 2 cm squares dependant on preference. For clean slices wipe down your knife between cuts.
Dependant on the chocolate you have used, and how hot your kitchen is, keep the bars in a cool place or in the fridge. In my recipe, I found organic 100% dark chocolate and because it doesn't have stabilizers or other chemicals along with my hot kitchen, they didn't bare well left out.
I kept some of the bars in the freezer, taking them out to thaw before serving, and left some in the fridge for easy access.
Enjoy as a snack, dessert, or on top of yogurt <3


