Like Zucchini Bread, but bite sized! What could be better? These little tidbits of deliciousness are soft and moist on the inside and slightly crunchy on the outside making the perfect coffee dipper or quick breakfast bite. Just one one-bite-wonder is loaded with nutrients from the zucchini and satisfaction from how GOOD they are! I could tell you that they last in the fridge or freeze well… but Rich and I never make it to that point to find out these are always eaten so fast!
Read more'Figgin' Delicious Fig & Coconut Cheesecake Bar
I’ve ‘FIG’ured out the secret to quick and delicious raw vegan cheesecake bar. I used to make these many years ago when I first really found a hobby in vegan baking. The biggest hassle though? Having the forethought to soak nuts for hours at a time! BUT I’ve discovered a time saving trick…. You can simply pour boiling water over the cashews and ta-da! Cashews softened in 15-20 minutes and good to go! And the other plus? The only special equipment you need is a high powered blender or a food processor!
Read moreEasy Apple Crumble
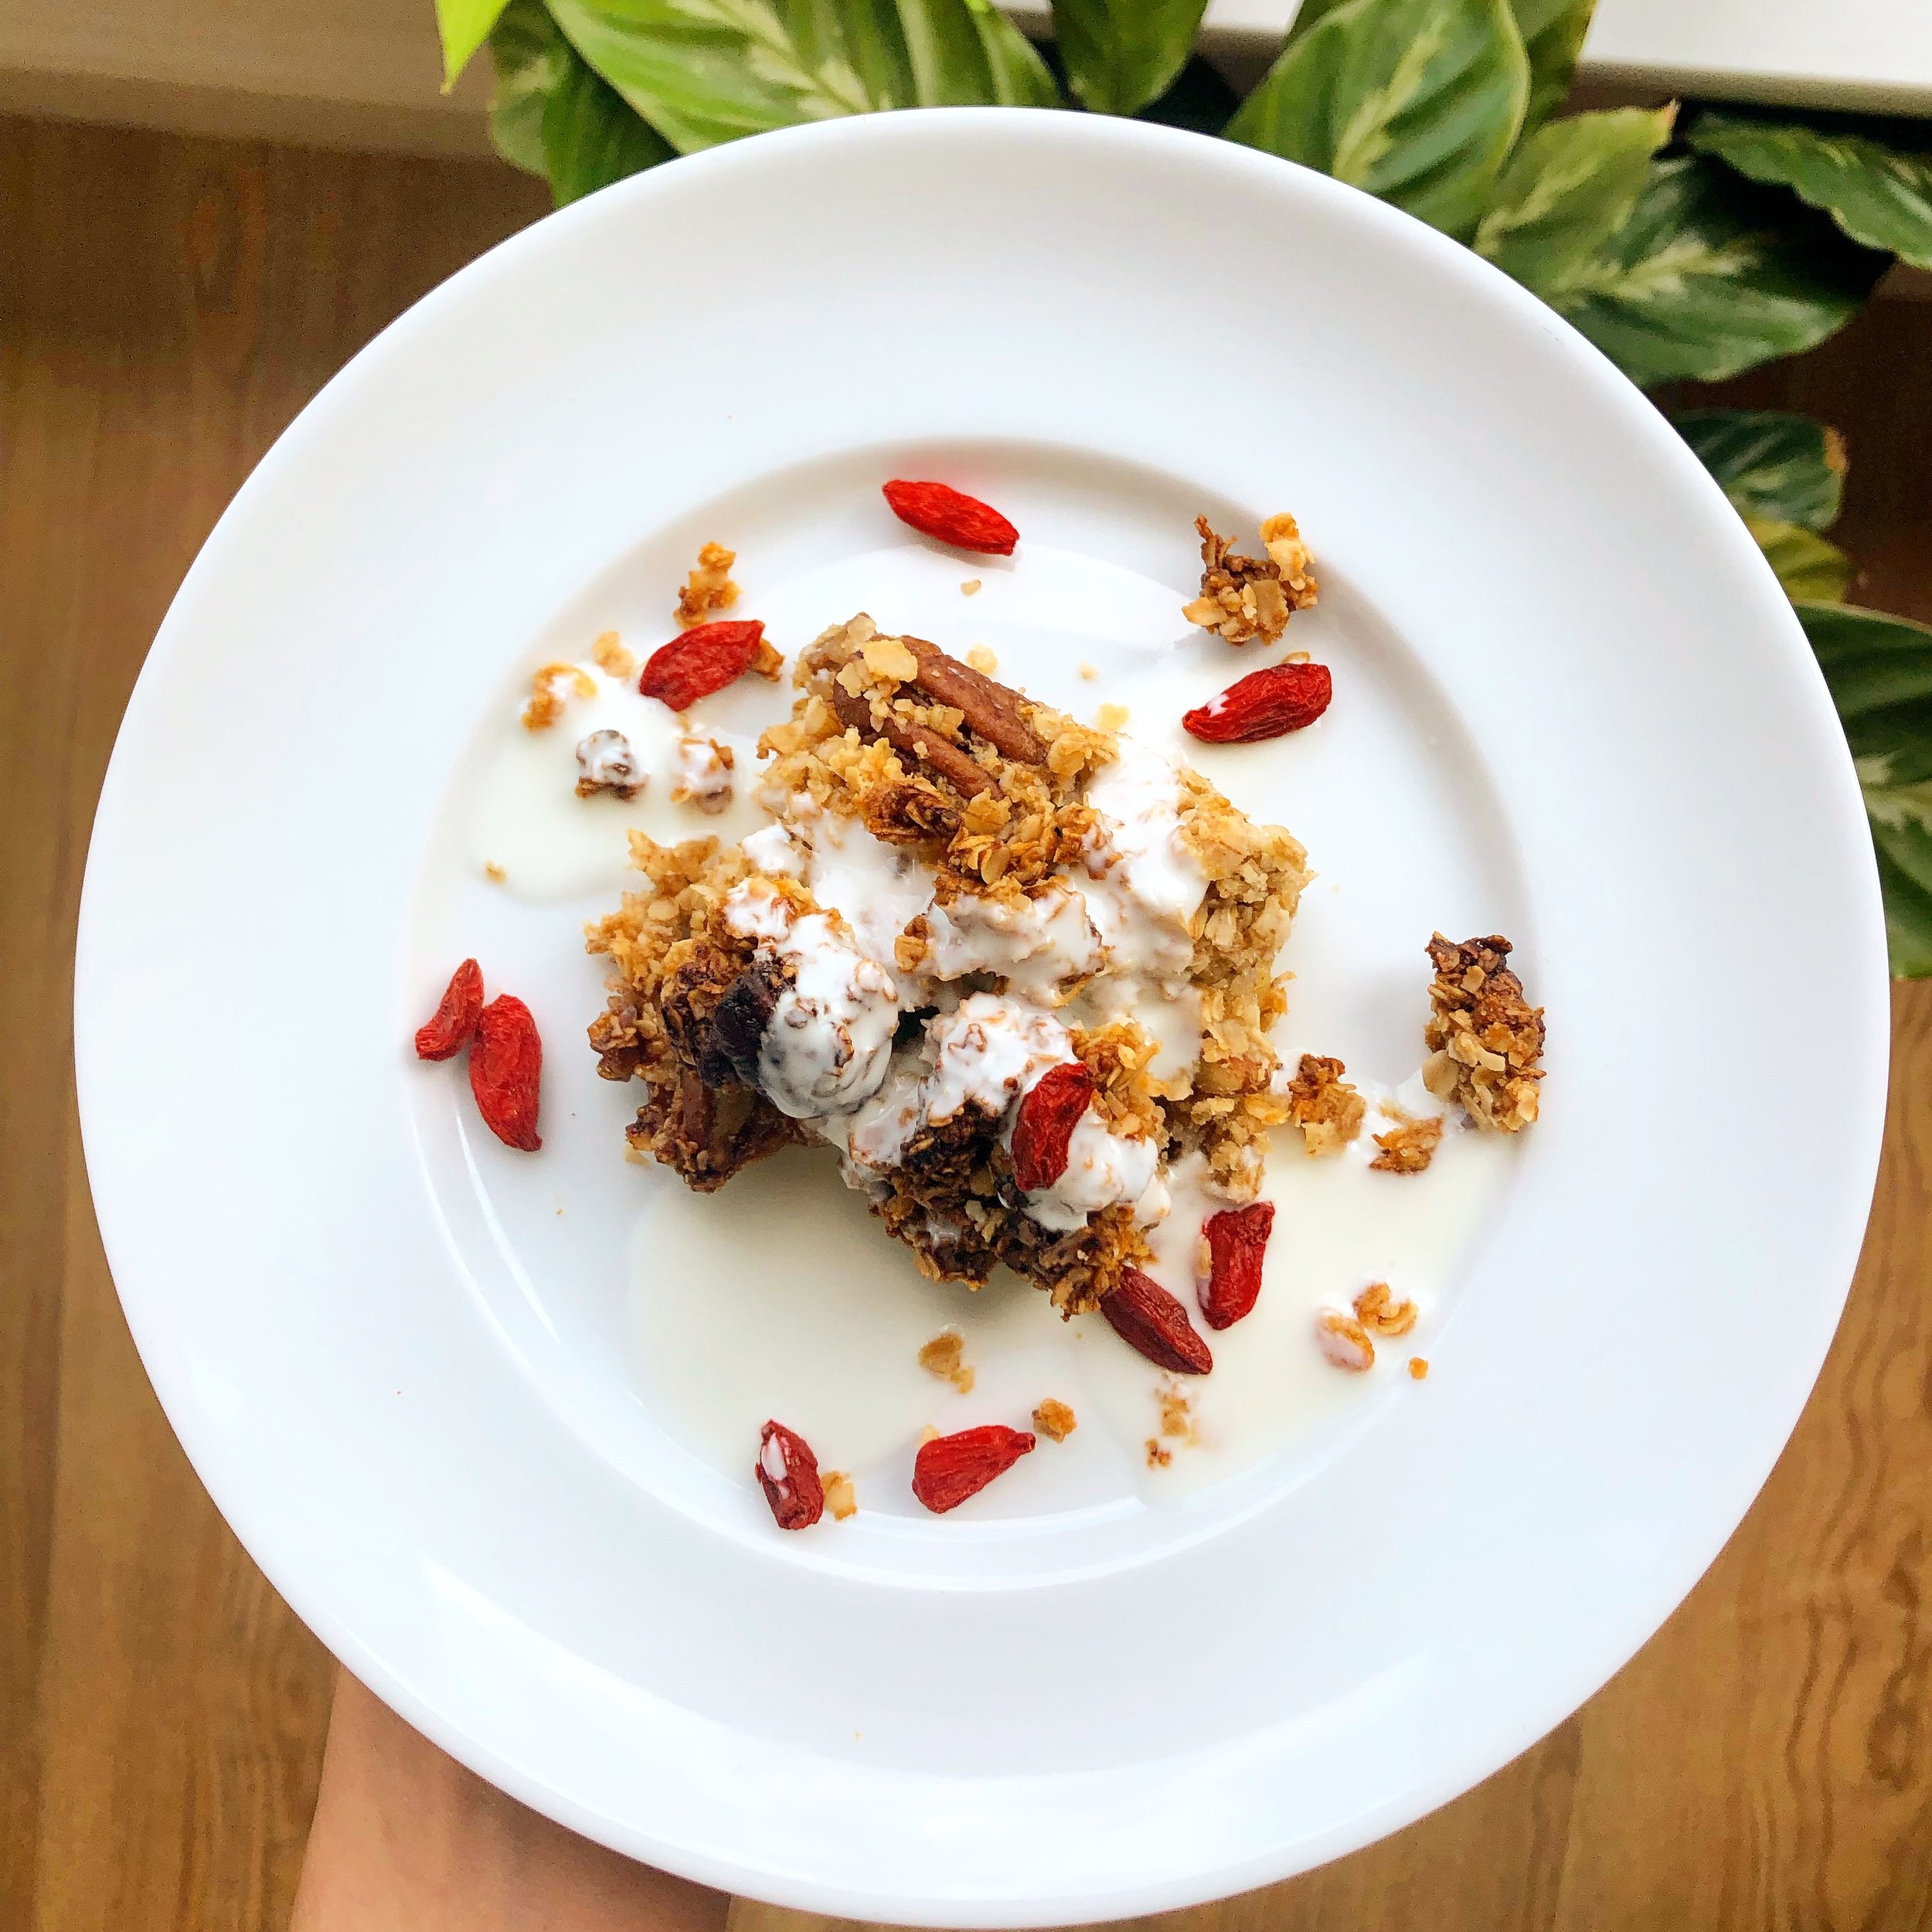
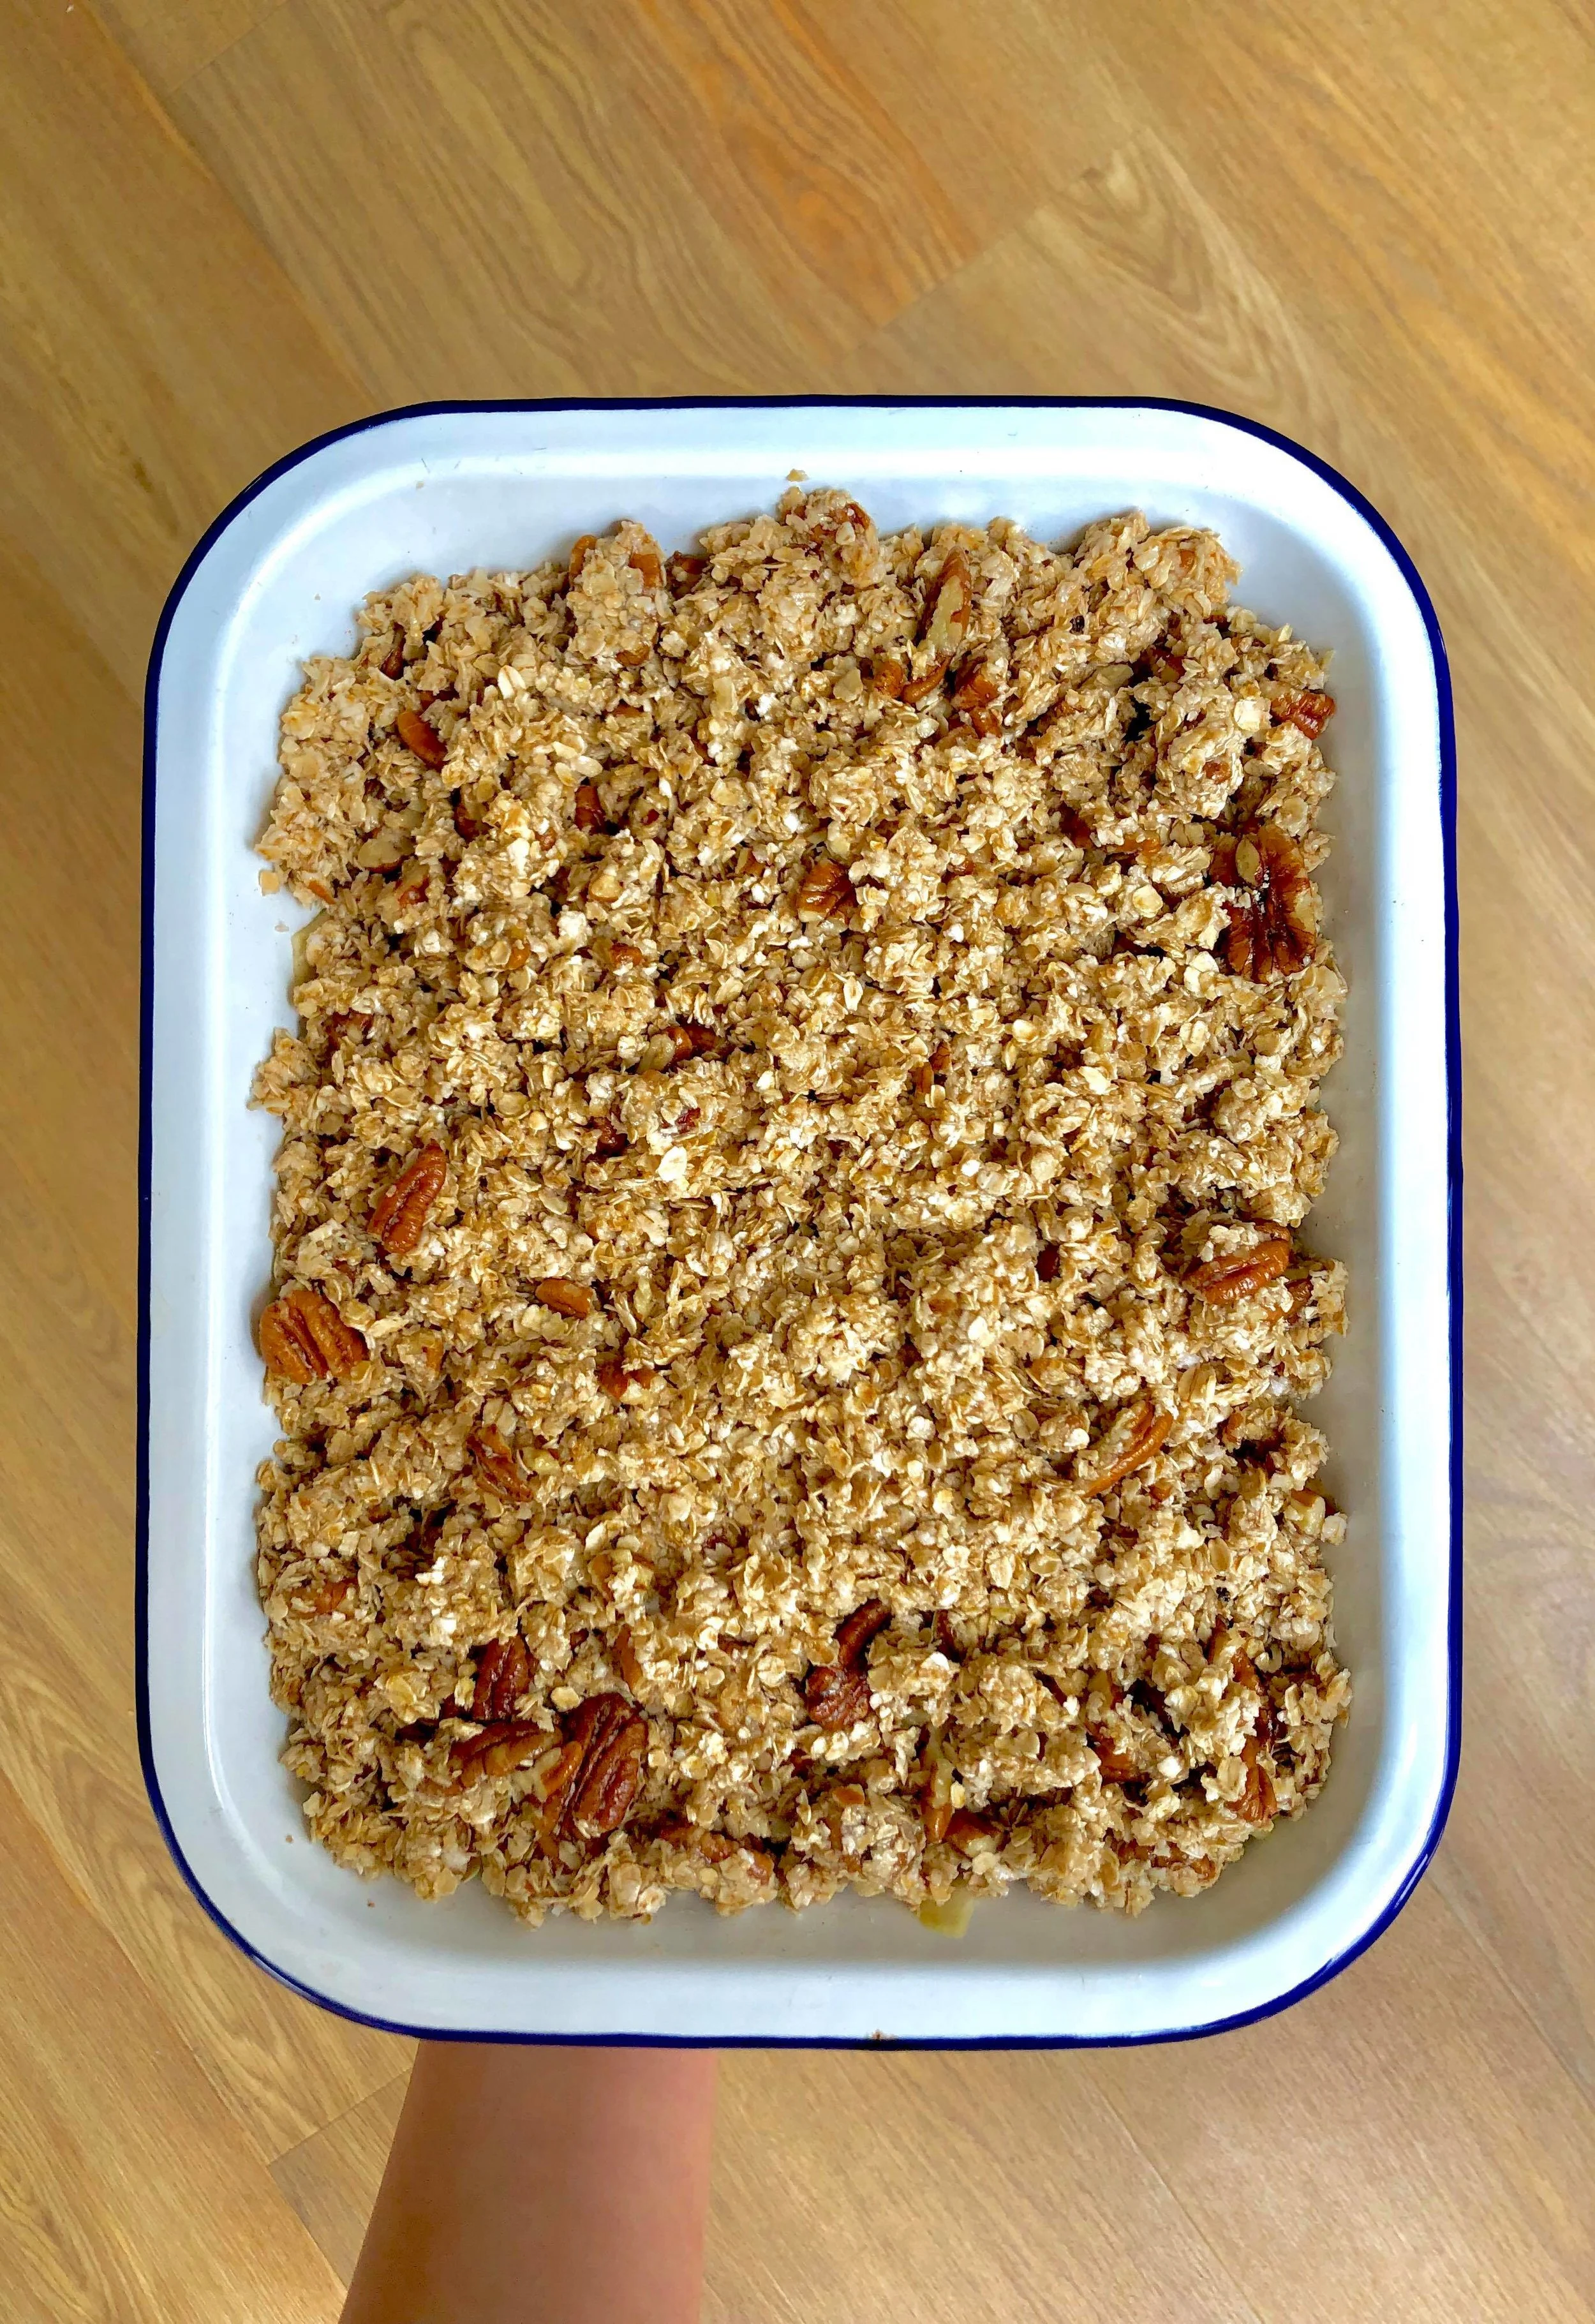
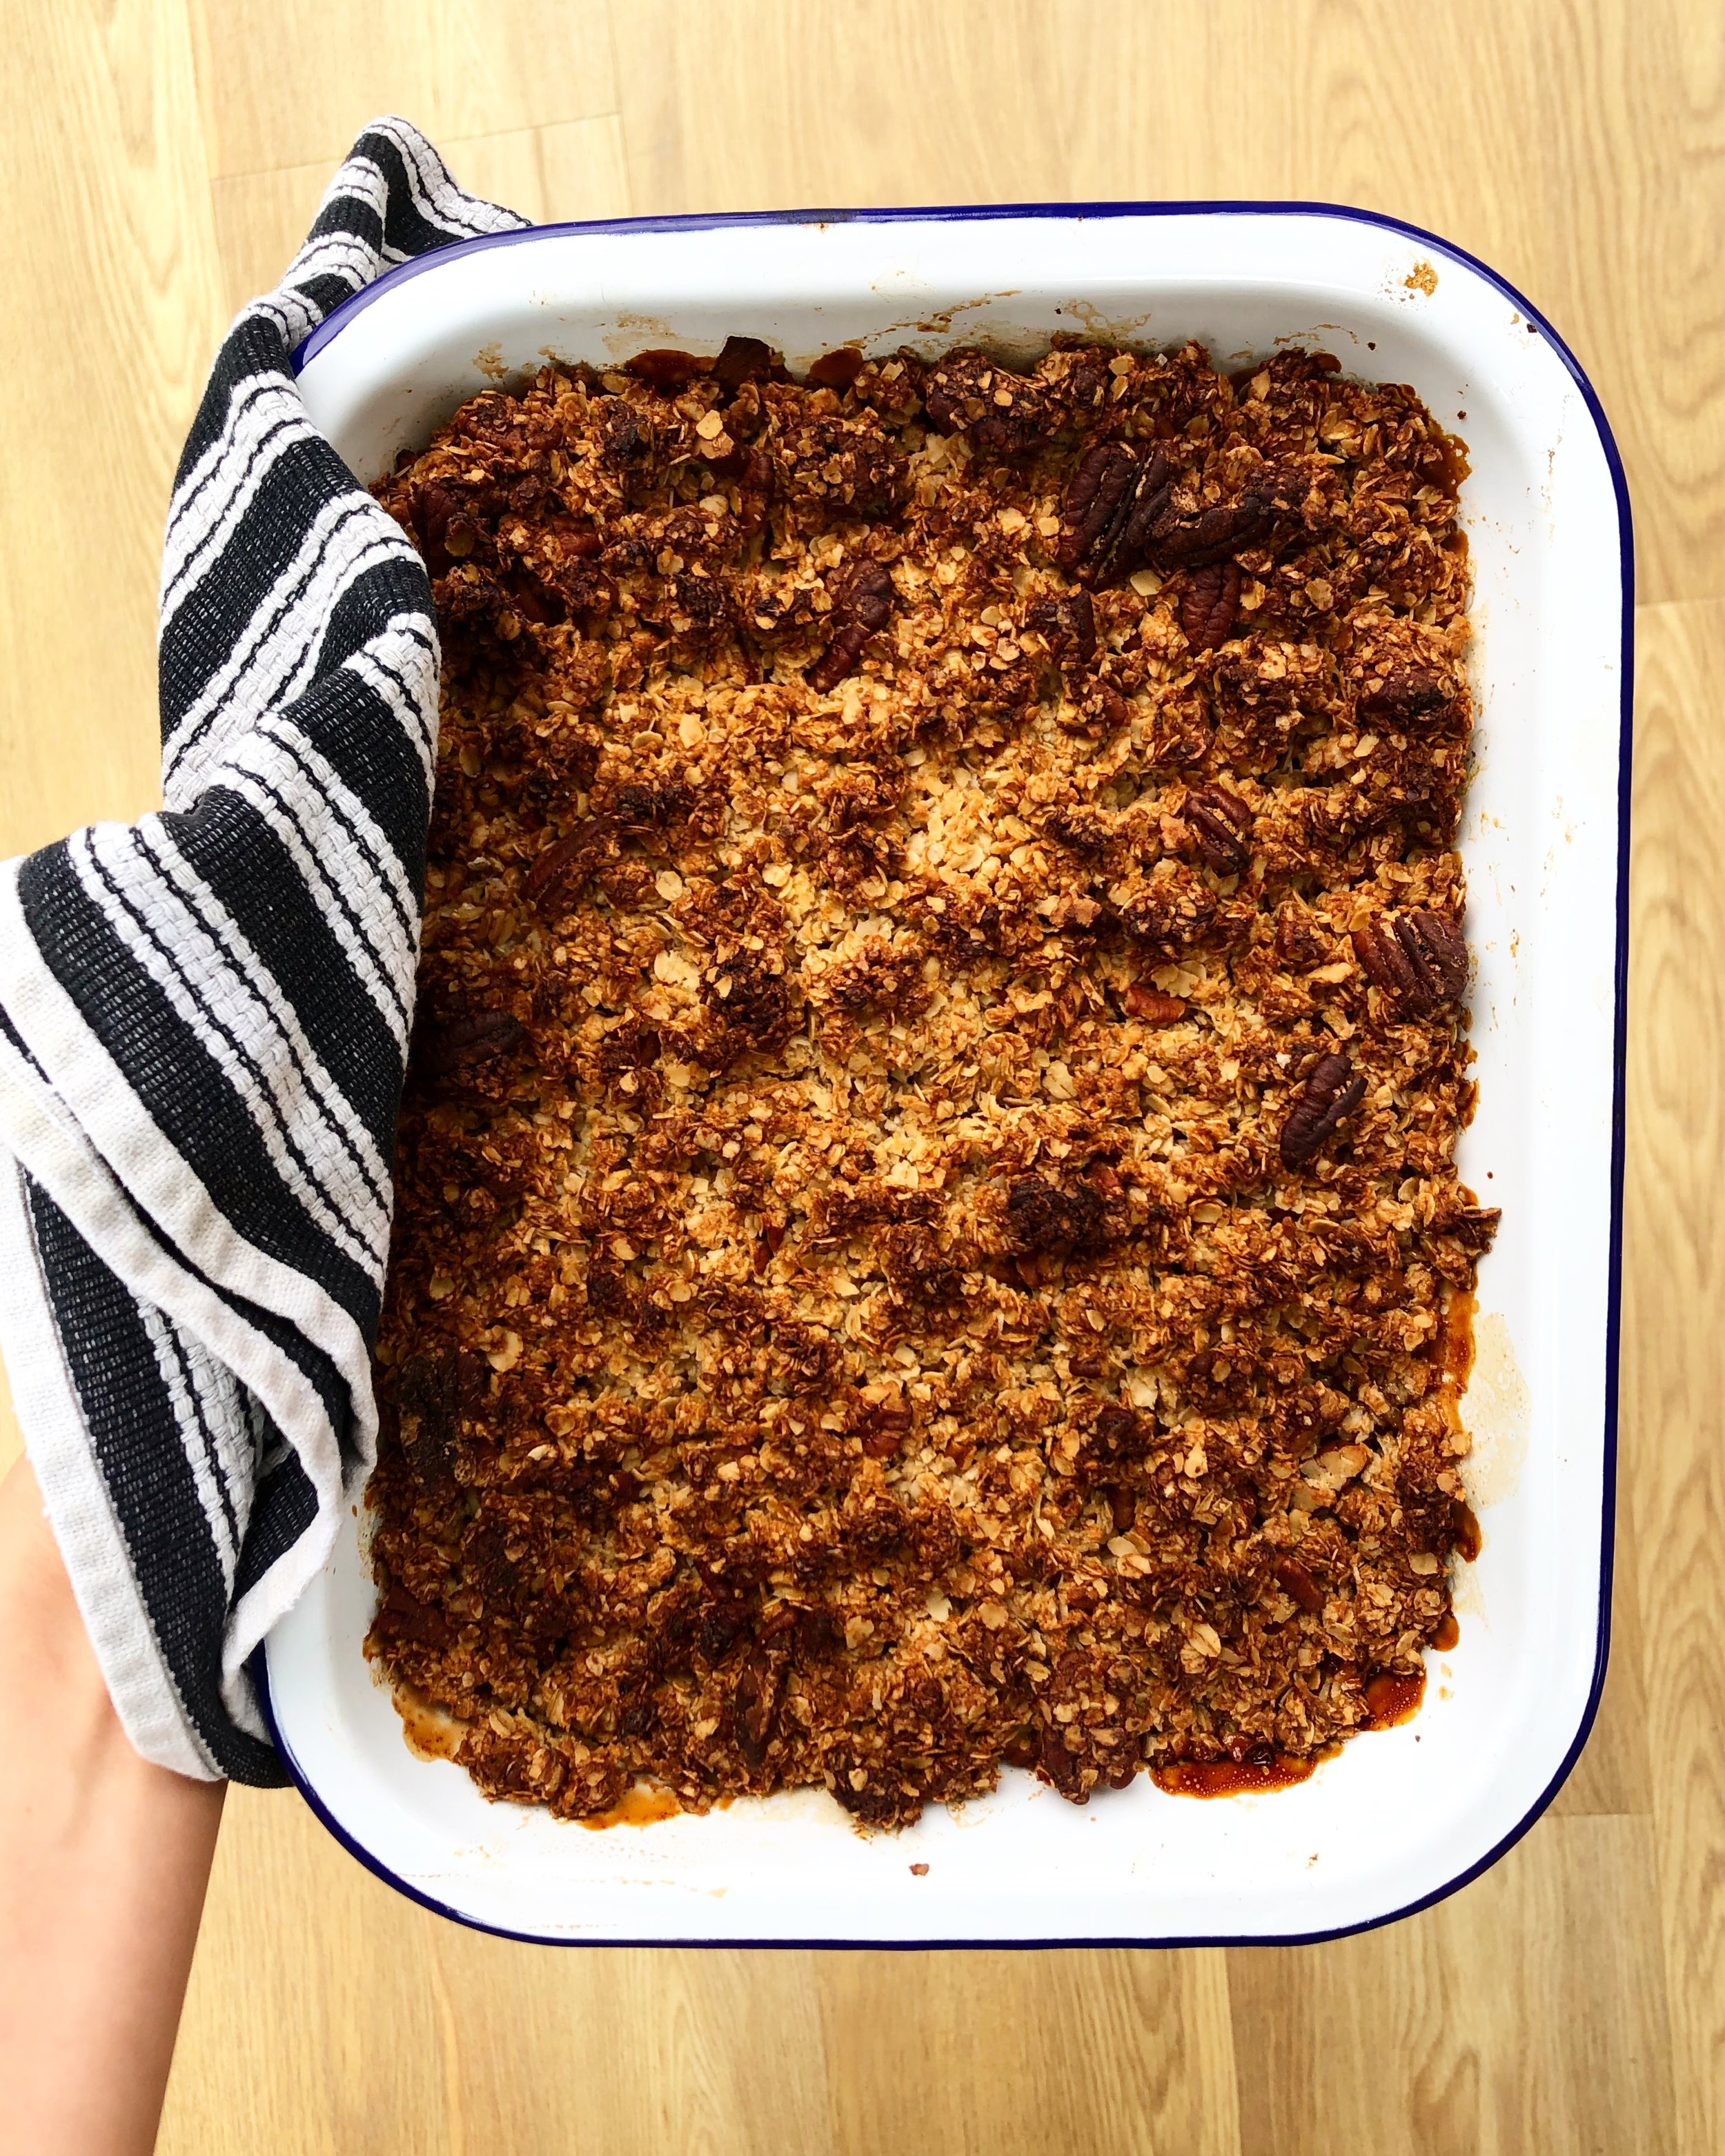
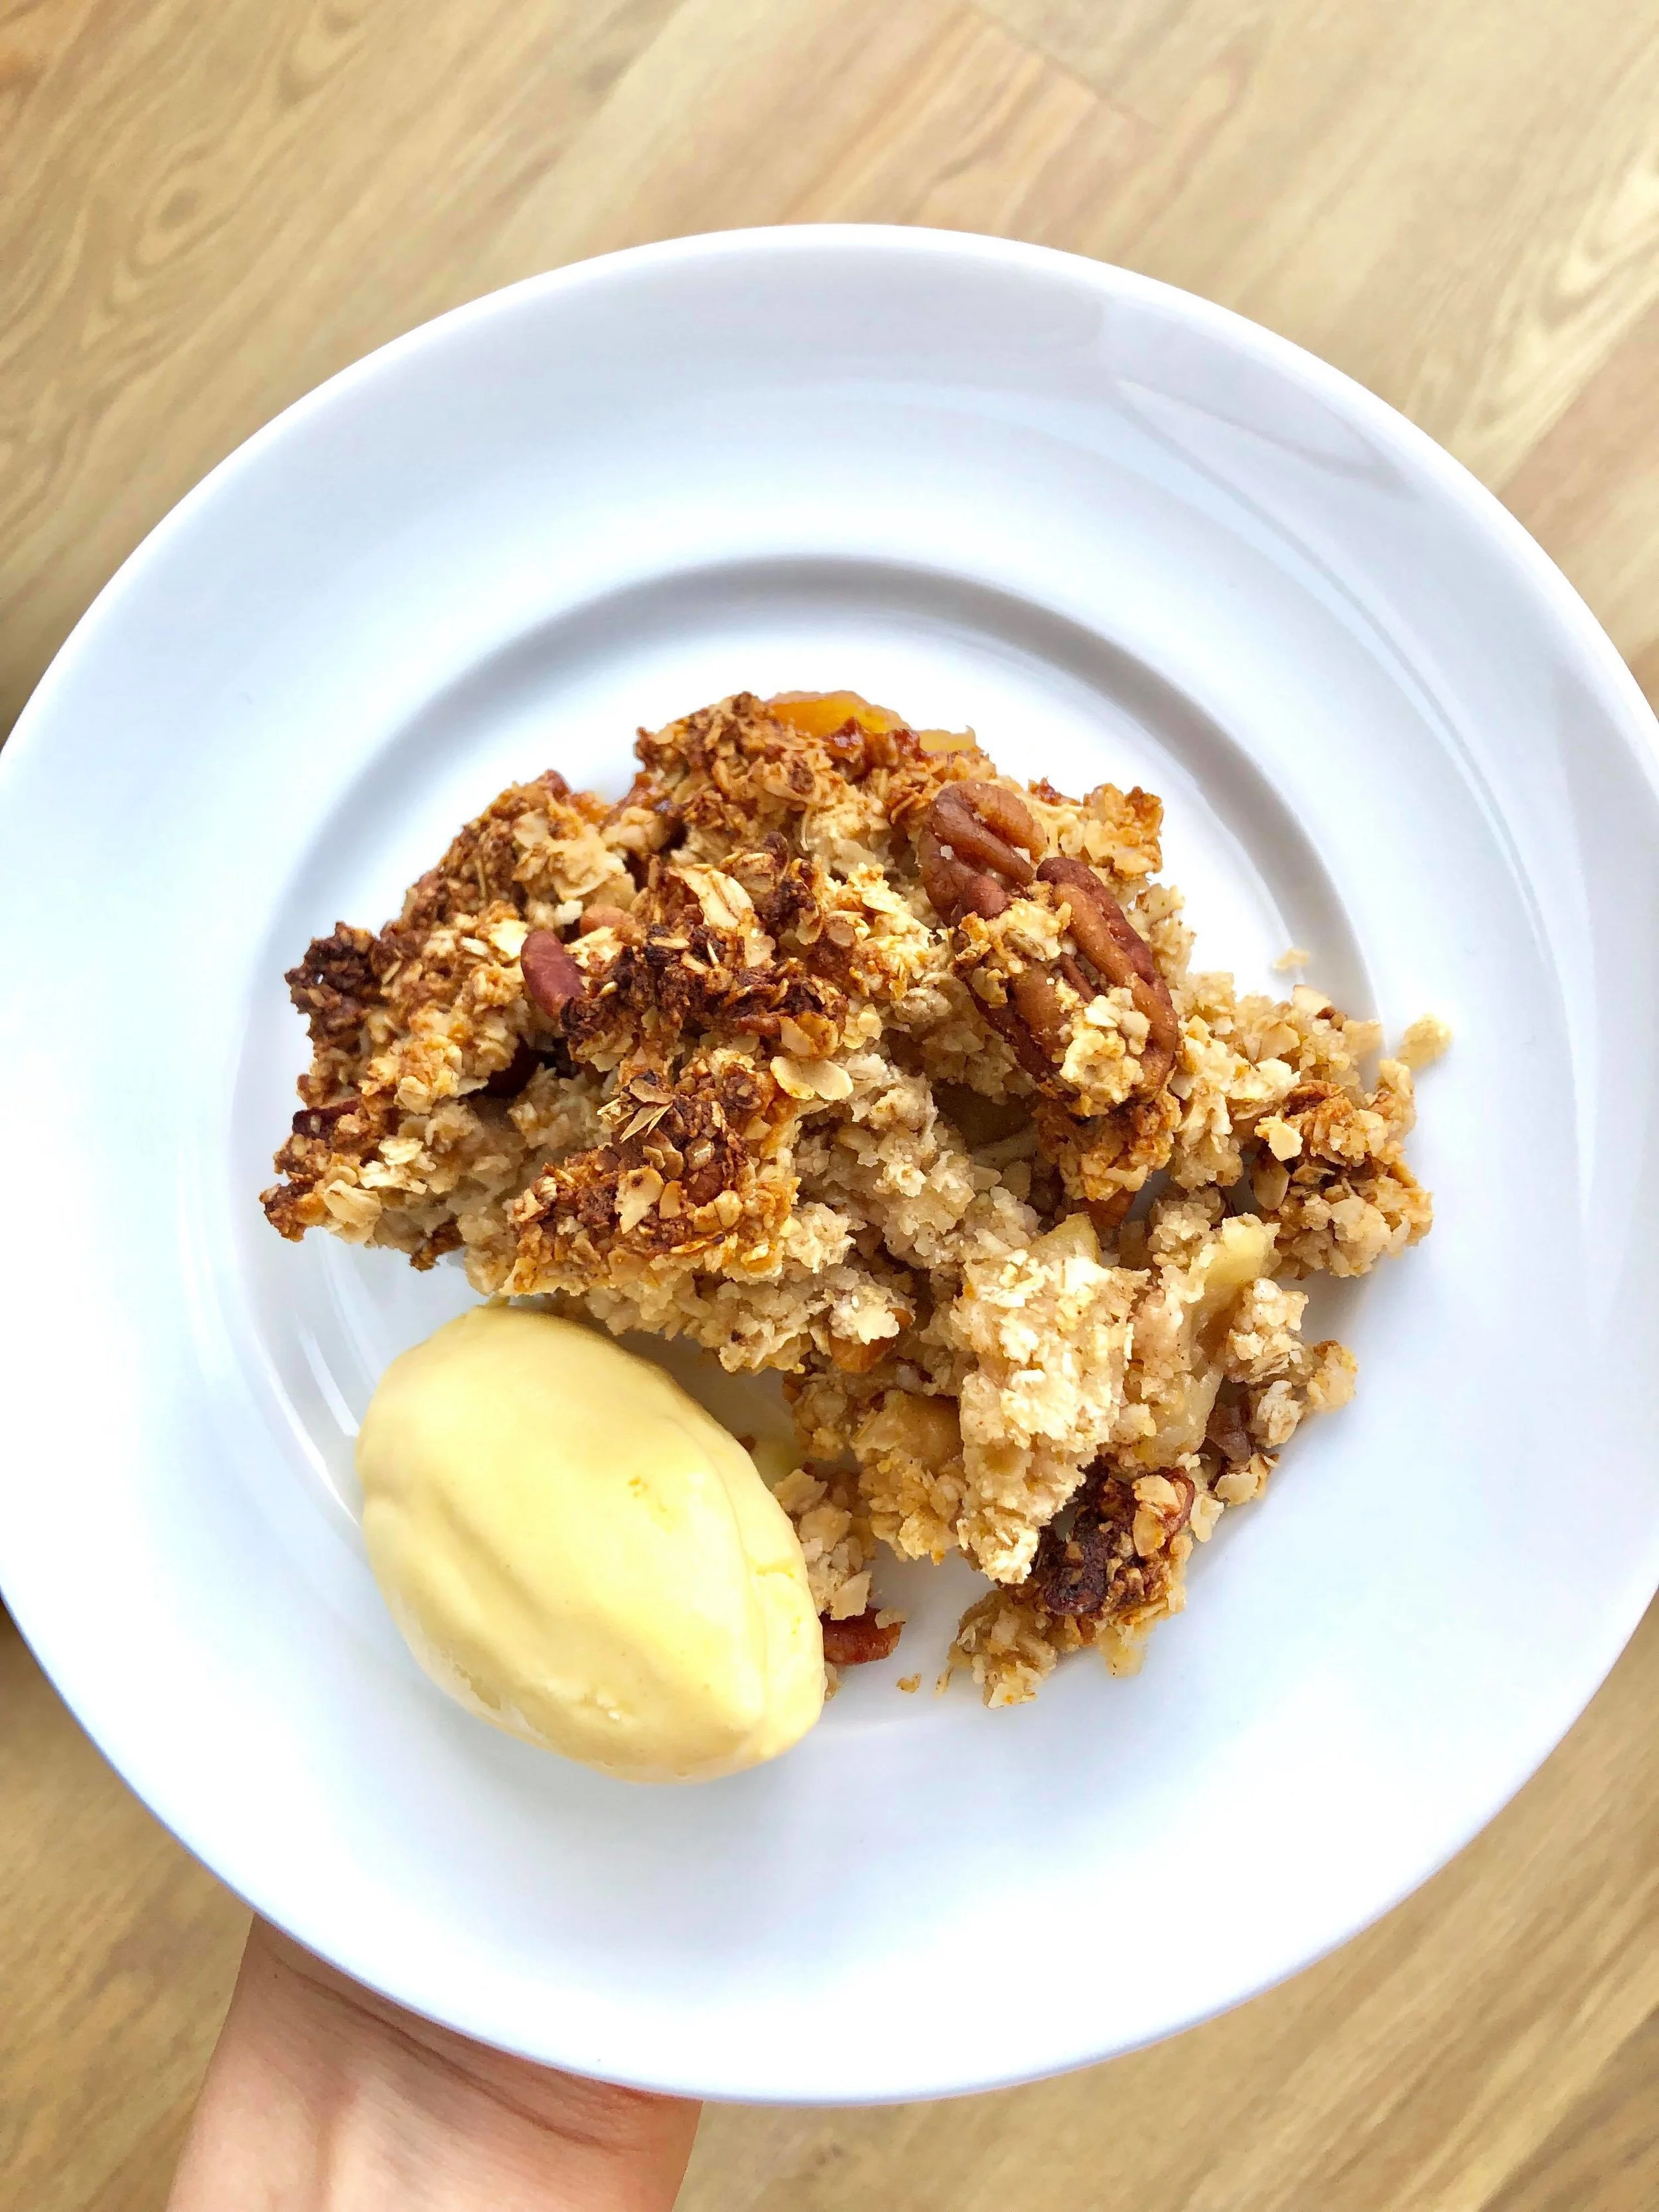
Working in Catering, I some days was making a berry or apple crumble for over 400 people at a time.
Have you ever tried to make a controlled dish? Its hard right?? The topping of the crumble recipe I had to use was one that had to be checked every few minutes, and turned every 3. For up to 16 trays.
It was stressful, but it taught me so much about myself, how to elevate stress, and deal with unproductive emotions in a work setting. It was a time of personal growth and while it wasn't easy, no meaningful transformation is.
I had swore off baking for about a year after leaving my pastry chef career. It was a part of the growth I needed in order to heal, become grounded, and re-center. I had discovered an acute gluten sensitivity while working in pastry getting rashes on my hands after handling dough, and becoming instantly sick when tasting my dishes. This fear of being sick again was a large part of my swear-off of sweets, but I have rekindled my love and now work towards making healthy versions of the dishes that I made during my time in work.
This apple crumble is not at all based on those recipes, but largely inspired by the giant bag of baking apples in my mother in laws pantry!
So over a year after making crumble for hundreds of people, i’m back at it, in a relaxed setting and on my own terms with ingredients I trust.
Oh the excitement!
This crumble is best served warm, but can be easily reheated in the microwave.
I have served it with regular vanilla ice-cream, vegan caramel (recipe coming soon), vegan custard (recipe also coming soon) or -unashamed to say- for breakfast with kefir and goji berries.
The crumble can be left covered on the counter or fridge for up to 4 days (so you can treat yourself all week long).
Easy Apple Crumble
Gluten Free, Vegan, Vegetarian, Refined Sugar Free
Serves 8
45 Minutes
Ingredients
Apple Base
-6 Bramley Apples
-1 tsp Cinnamon
-1/8 tsp Nutmeg
-2 tbsp. Maple Syrup
Crumble
-2 1/2 Cups GF Oats
-1/2 Cup Pecans
-1/3 Cup Ground Almonds (or Almond Flour)
-1/3 Cup Maple Syrup
-1/4 Cup Melted Coconut Oil
-Pinch Salt
Method
Preheat Oven to 180 C.
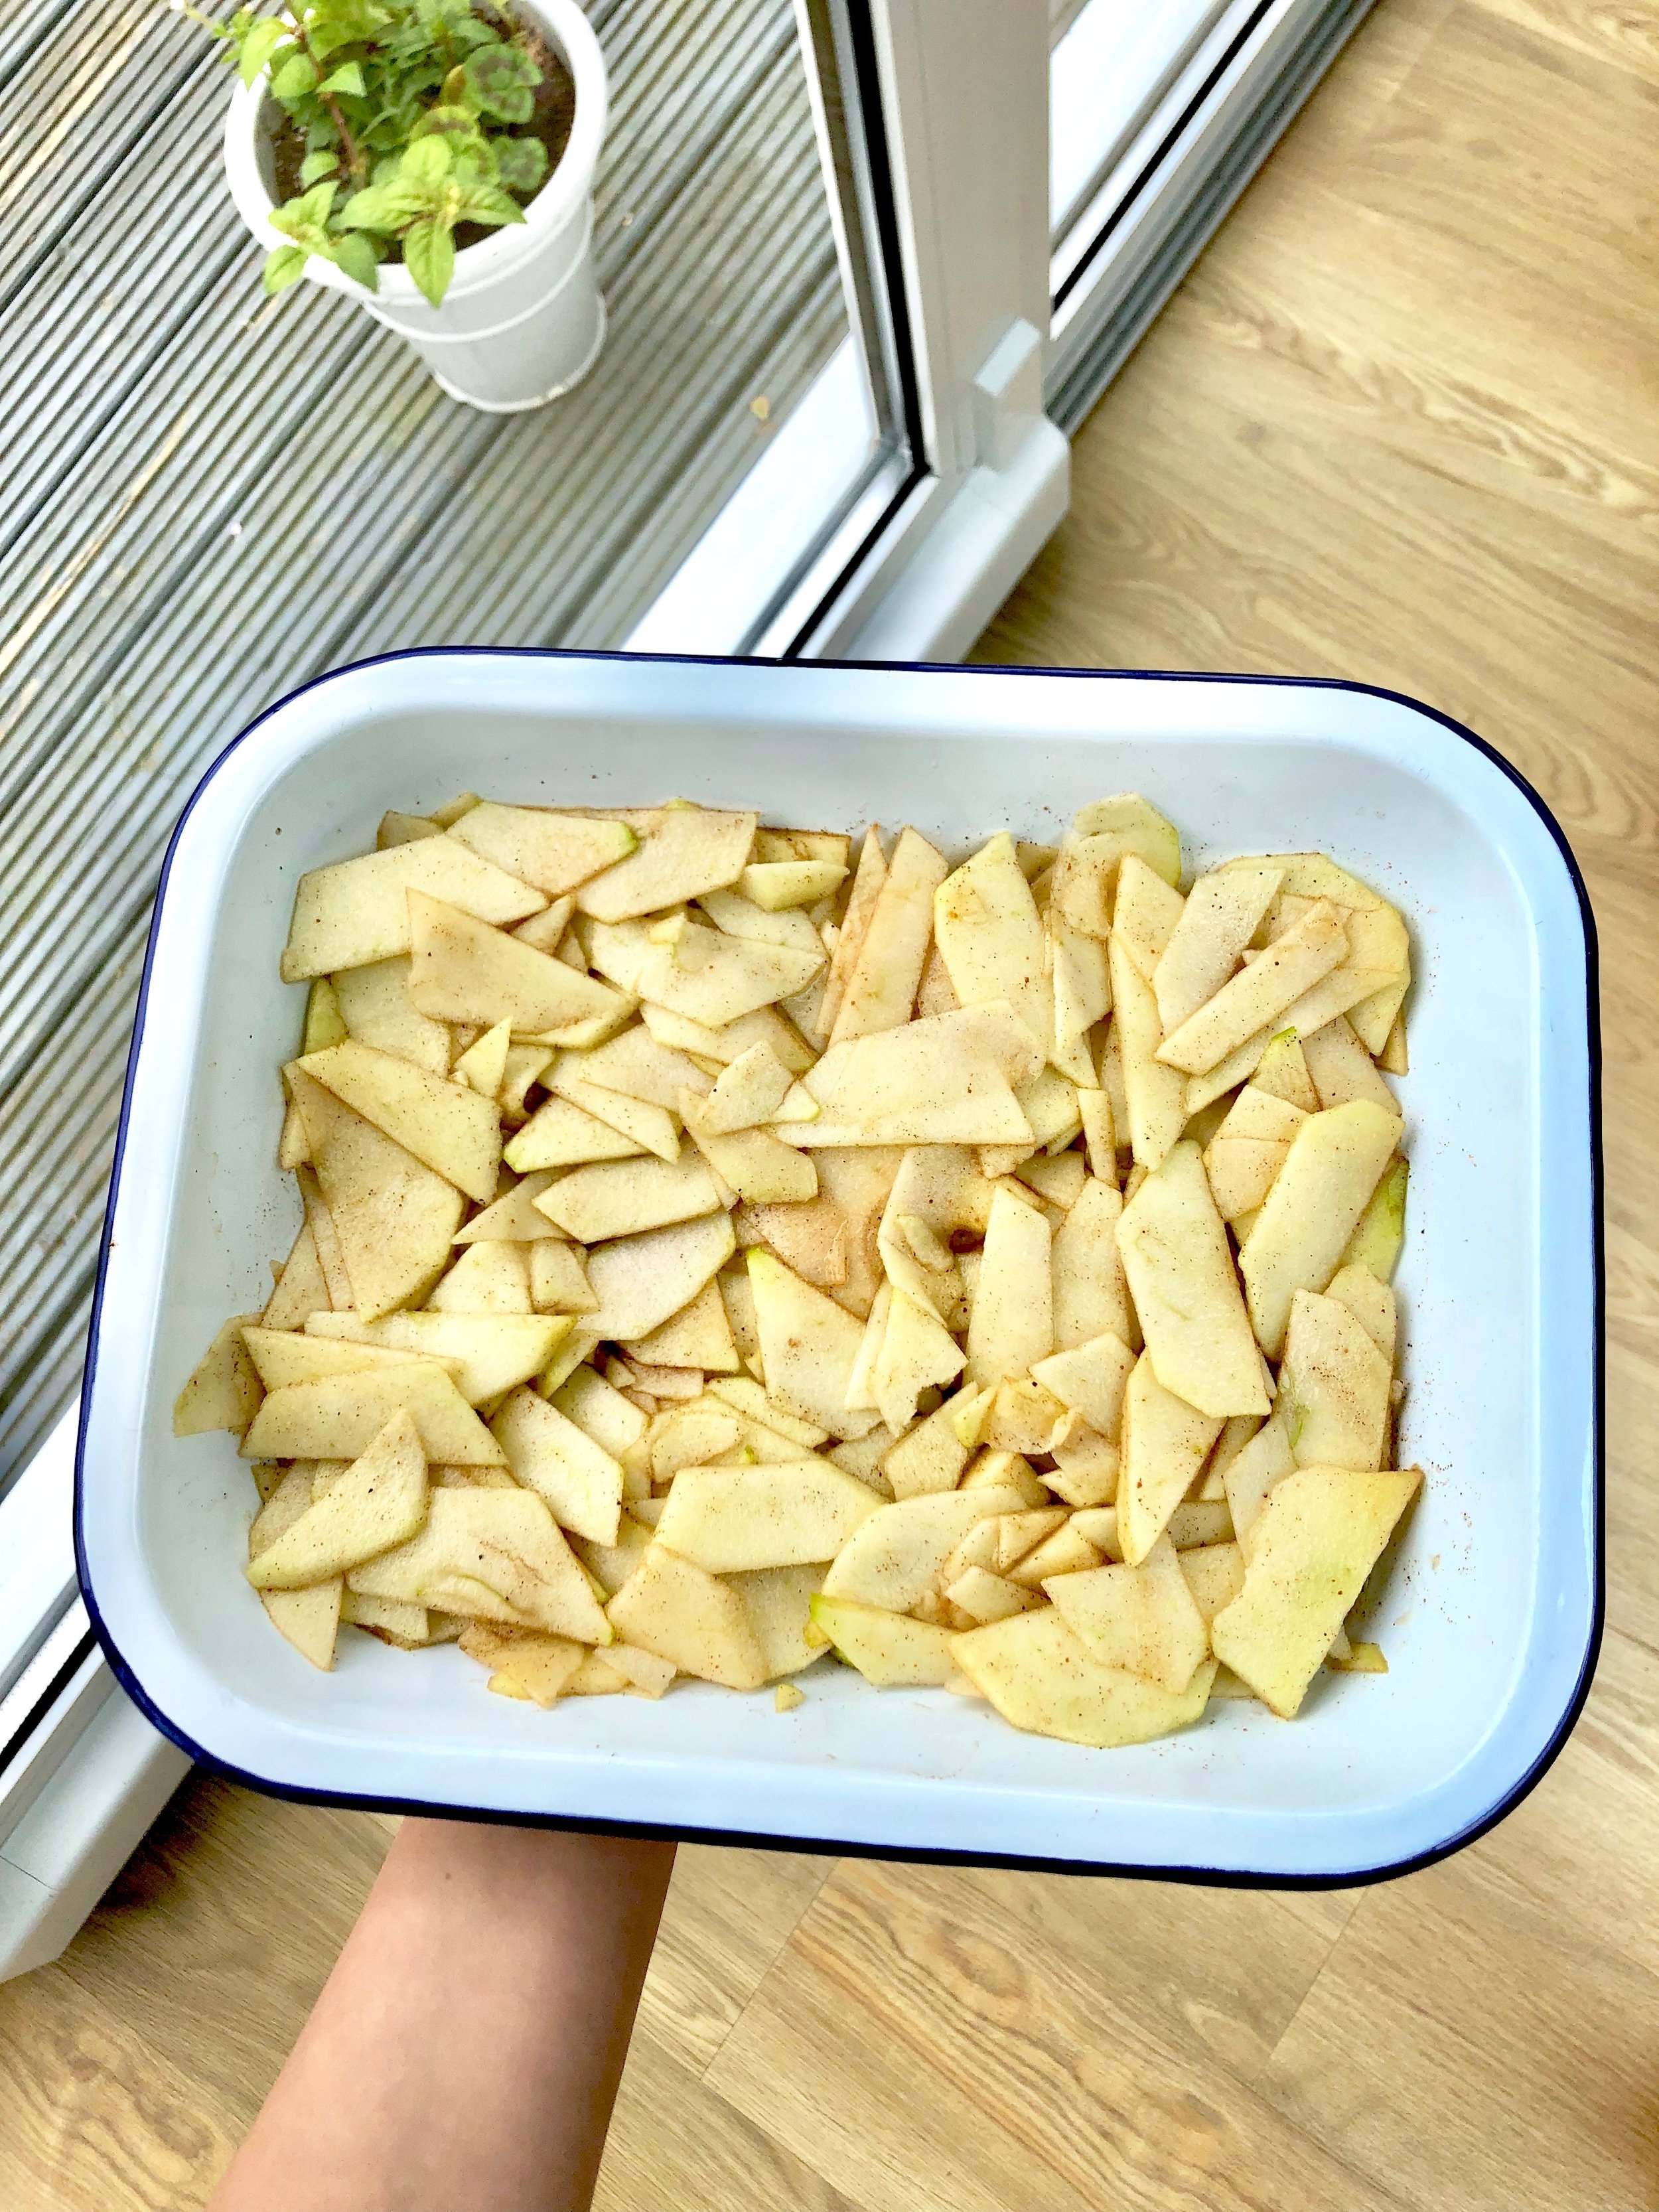
Peel the apples. Make clean cuts around the core into four sides. then thinly into semi circle slices.
Place the apple slices in a bowl. Add the cinnamon, nutmeg and maple syrup. Ensure the fruit is evenly coated with the spices and syrup. Spread in a 8 x 8 tray, and set aside.
In a bowl add the oats, ground almonds, maple syrup, melted coconut oil, salt, and half of the pecans (1/4 cup). Roughly chop the other half of the pecans (1/4 cup), add to the mixture, and fully combine.
Spread the topping evenly over the apples in the pan.
Bake 30 minutes or until fragrant and golden brown on top.
One Pan Pecan Granola
Easy, delicious, satisfying, quick, and good for children and adults alike. I really can’t put an end to the positive adjectives to this dish.
I am inherently lazy (partially the reason I left Michelin star kitchens) and am always looking for a short cut in the kitchen.
I love my oven, I really do, but for some reason actually putting something IN the oven makes the dish seem that much more work. Call me crazy! I can’t be the only one.
So, being lazy, not wanting to clean the excess dishes of a mixing bowl AND a tray AND a sticky spatula, I decided to venture into the world of non-oven granola.
I will admit it took a few tries (including making sure my pan was completely dry in between recipe tests and washes as my ‘granola’ quickly turned into ‘oatmeal’ - rooky mistake), but the final test was so beautiful and was so satisfying.
I will never again wait for granola in the oven. Yes, patience is a virtue, but really the best inventors are inpatient and lazy right? How else would we have self operating vacuums or lights that turn on by clapping your hands?
This idea of how to begin on this endeavor started with my time in kitchens as a pastry chef when I was making toffee pecans for a super extra banoffee dessert that included banana ice cream, salted chocolate crumble, and siphoned dolce de leche. I can safely say I gained a lot of weight there. The pecans were made with maple syrup, brown sugar, butter, butter, and more butter.
In my adaption of it, I obviously didn't want butter, or refined sugar so I went off the whim and it turned out SO WELL.
You can use this recipes on top of my Vanilla Poached Pears, on top of yogurt, an apple crumble topping, or wherever else you would use granola.
A word to the wise on this one:
Be very careful, and stay with the pan the entire time. The time in between a perfectly browned pecan and a burnt one is a matter of milliseconds. Don’t let this scare you, but just keep an eye on it and have your ingredients set up beforehand.
One Pan Pecan Granola
Serves 4
10 minutes
Ingredients
-1 Cup GF Oats
-1/2 Cup Pecans
-1/3 Cup Maple Syrup
-Option: Vanilla Extract or Bean
-1 tsp. Cinnamon
Method
Chop half of the pecans roughly, and leave the other half whole. Set aside.
In a pan on low heat, brown the oats slowly over the pan, continuously stirring while you add the pecans to brown slightly and immediately add maple syrup. Add the vanilla essence (if using) and cinnamon here. Continue stirring.
Pour onto a silicon mat and let cool. It will be hard once cool, but no worries! Break up the pieces and cut in a sterilized jar. Leave in a cool place or in the fridge for up 3-5 days.
Vanilla Poached Pears
Dessert Or breakfast these are A.M.A.Z.I.N.G. You can technically have breakfast for dessert… without any judgement (from me anyways).
I often make my vanilla poached pears for parties, family members, or my own lazy brunch morning with Rich and myself.
They seem luxurious, intricate, and impress everyone… little do they know, these took less than 40 minutes - most of which I was sitting reading my current novel “The Language of Kindness” by Christie Watson (I highly recommend).
I’m letting you in on my secret dessert dish which I ‘pretend’ are really complicated at dinner parties by explaining the dish with grandiose phrasing. What can I say, I’m a cancer and I just need positive attention.
I know, horrible, but I am making up for my deception by sharing these with you- and so that you can do the same with your friends and family!
The trick is staying coy. “No, no, it was so easy! Really, it's nothing!” and I swear it almost makes the dish taste SWEETER.
—————————————————————————————————————————————————————————————————————————
Now that I have shown you my true colours (Oops!) I’m going to move on to the making behind the dish.
This dish can be made vegan, gluten free, and can also be done as nut free and paleo (without the pecan granola). It requires minimal cutting, is pretty much one step, and is incredibly delicious with delicate flavours. I made this the other morning for what was a healthy breakfast, made with only fruit and free sugars.
Oh, and the biggest plus was my kitchen smelled fabulous all day.
The poached pears are best served hot, immediately after plating, with a dollop of cultured yogurt (I use coconut collaborative, or goats milk yogurt), or a scoop of vanilla and/or salted caramel ice cream and topped with my one pan pecan granola, which can be found here. With all the components the dish is complete in both texture and flavour, but I encourage you to be creative and let me know what you made these with!
For breakfast as seen in the pictures, I added cultured goat yogurt, my one pan pecan granola, with a sprinkle of chia and honey!
LETS GET STARTED!!
Vanilla Poached Pears
Gluten Free, Vegan Option, Vegetarian, Paleo (without granola), Nut Free (without granola), Refined Sugar Free
Serves 1
5 Minutes Prep.
35 Minutes Cook
Ingredients
-1 Pear (of any kind; not overly ripe and still hard)
-1/4 Cup Honey/Maple Syrup
-1 tsp. Vanilla
-1 tsp. Cinnamon
Method
Cut the pear in half, and remove the core (with a knife or a melon baller).
Place the pear cut side up in a saucepan, and add your choice of sweetener (honey/maple syrup), vanilla and cinnamon. Fill with water until pears are completely covered with liquid (and then some (amount depends on your pot)
Bring to a boil, then reduce to a simmer. Leave the pears to poach for 35 minutes for a soft, sweet and delicate treat.
Serve warm.


